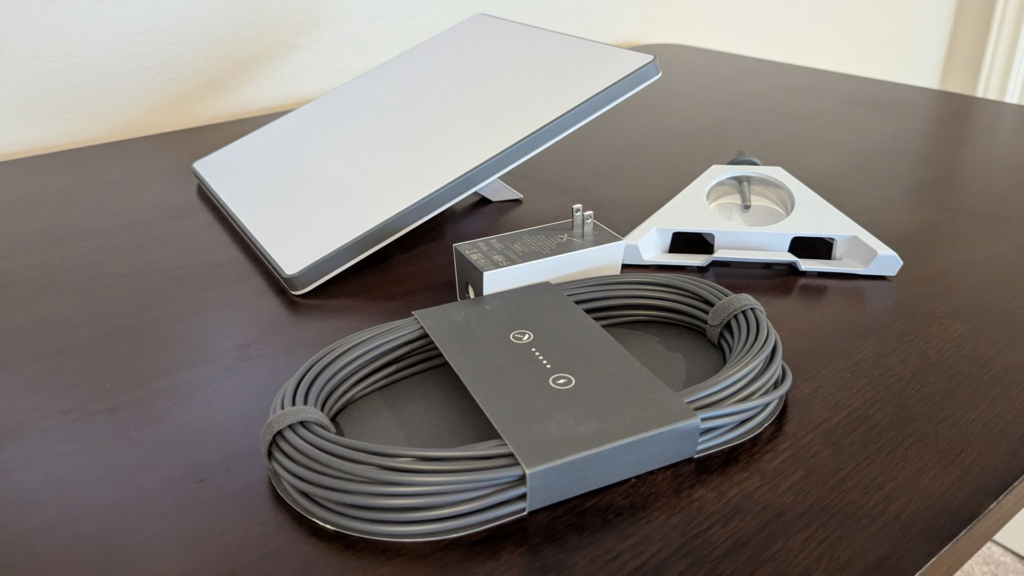
In der heutigen Welt ist ein zuverlässiger Internetzugang kein Luxus mehr, sondern eine Notwendigkeit – selbst an den entlegensten Orten. Der Starlink Mini, ein kompaktes und tragbares Satelliten-Internetgerät, bringt Hochgeschwindigkeitsverbindungen an Orte, die herkömmliche Breitband- oder Mobilfunknetze nicht erreichen können. Ob Outdoor-Enthusiast, Telearbeiter oder Reisender – die richtige Starlink Mini-Konfiguration im Freien sorgt für bessere Leistung und zuverlässiges Internet, auch an abgelegenen Orten.
Dieses Handbuch bietet wichtige Tipps und bewährte Methoden für die Einrichtung und den reibungslosen Betrieb Ihres Starlink Mini in abgelegenen Gebieten.
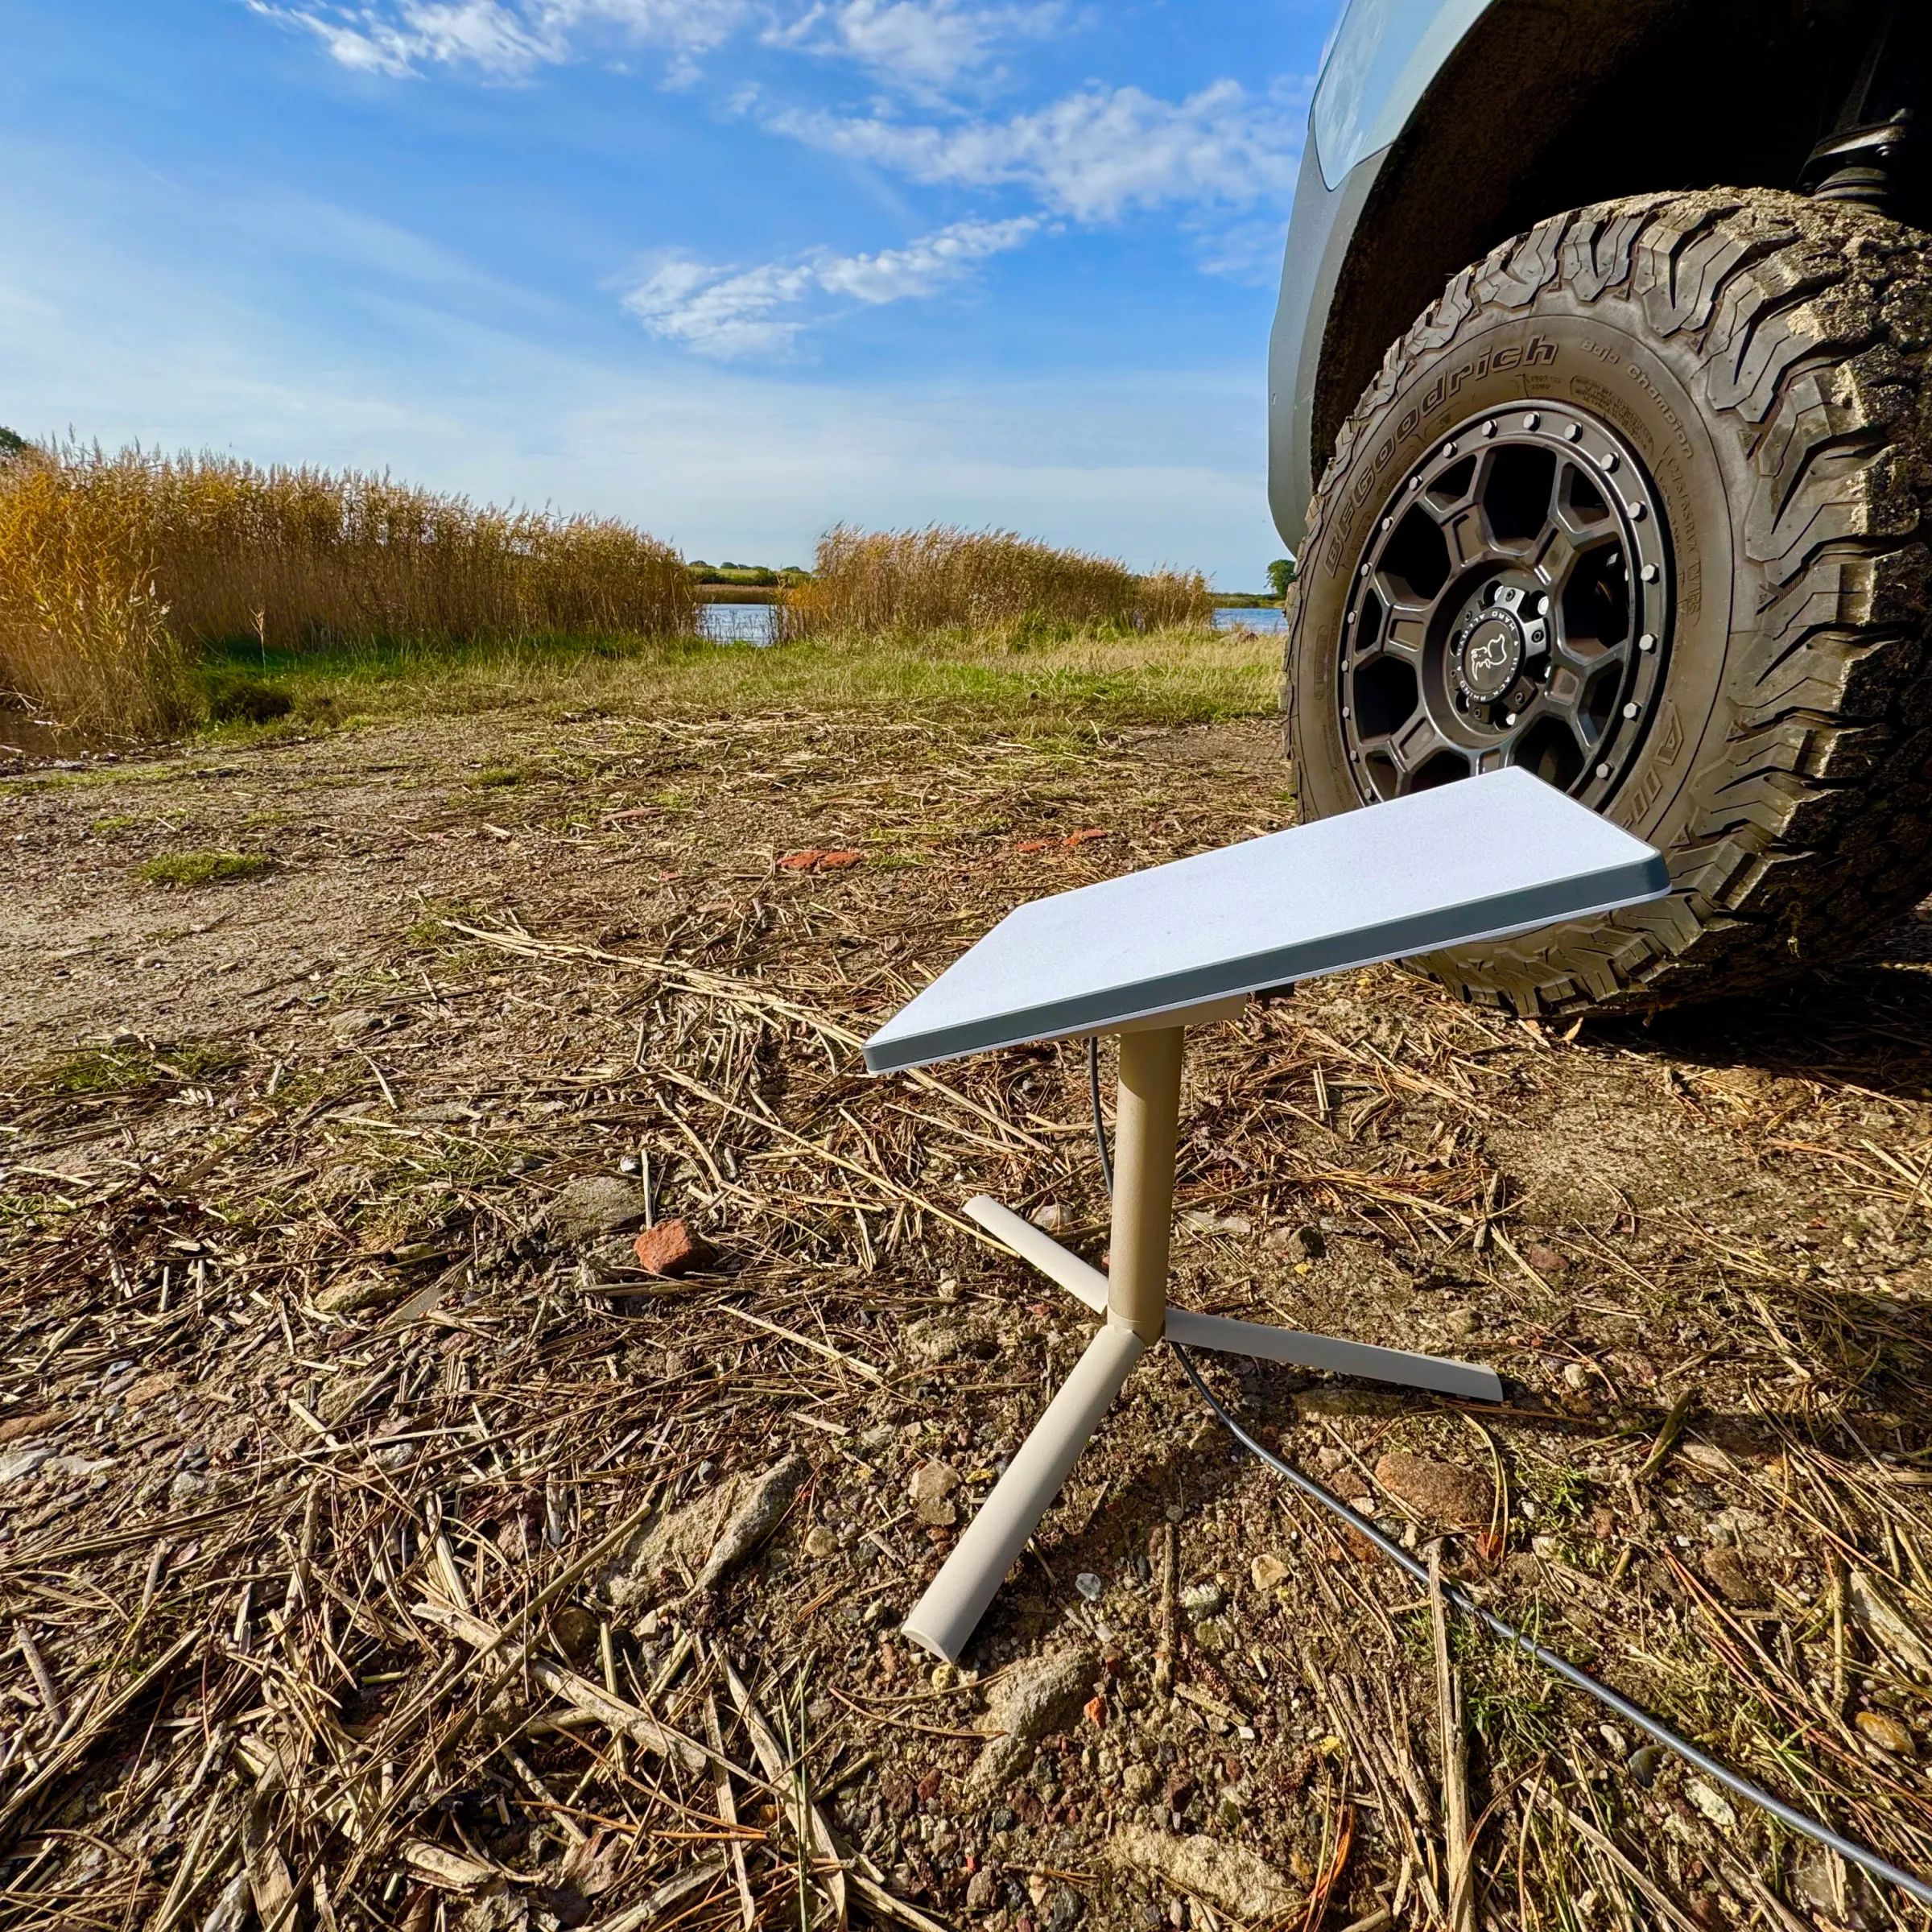
1. Auswahl des optimalen Standorts
Der erste und wichtigste Schritt bei der Einrichtung Ihres Starlink Mini im Freien ist die Wahl des richtigen Standorts. Für eine stabile Verbindung benötigt Satelliteninternet eine klare, ungehinderte Sicht auf den Himmel.
- Klare Sichtlinie: Suchen Sie nach einem offenen Bereich ohne Hindernisse wie Bäume, Gebäude, Hügel oder Berge, die die Satellitensignale blockieren könnten. Selbst dünne Äste oder Blätter können die Signalqualität beeinträchtigen.
- Auf die Höhe kommt es an: Positionieren Sie den Starlink Mini auf erhöhtem Gelände, beispielsweise einem Hügel, einem Dach oder einer Plattform, um Störungen durch umliegende Objekte zu reduzieren.
- Vermeiden Sie Metallstrukturen: Metalloberflächen und reflektierende Materialien in der Nähe können das Signal stören. Vermeiden Sie es daher, das Gerät in der Nähe solcher Objekte aufzustellen.
2. Sicherstellung einer stabilen Stromversorgung
Damit Ihr Starlink Mini kontinuierlich läuft, ist eine zuverlässige Stromversorgung unerlässlich.
- Tragbare Stromversorgungslösungen: An abgelegenen Orten sind Sie möglicherweise auf tragbare Solarmodule, Powerbanks oder Kraftstoffgeneratoren angewiesen. Stellen Sie sicher, dass Ihre Stromquelle eine konstante Spannung und Wattzahl liefert, die mit den Anforderungen des Starlink Mini kompatibel ist.
- Batterie-Backup: Kombinieren Sie Ihr Setup mit einer Hochleistungsbatterie oder einem USV-System, um Ausfallzeiten bei zeitweiligen Unterbrechungen der Stromversorgung zu vermeiden.
- Stromkabel: Verwenden Sie hochwertige, wetterfeste Stromkabel und Anschlüsse, um den Bedingungen im Freien standzuhalten.

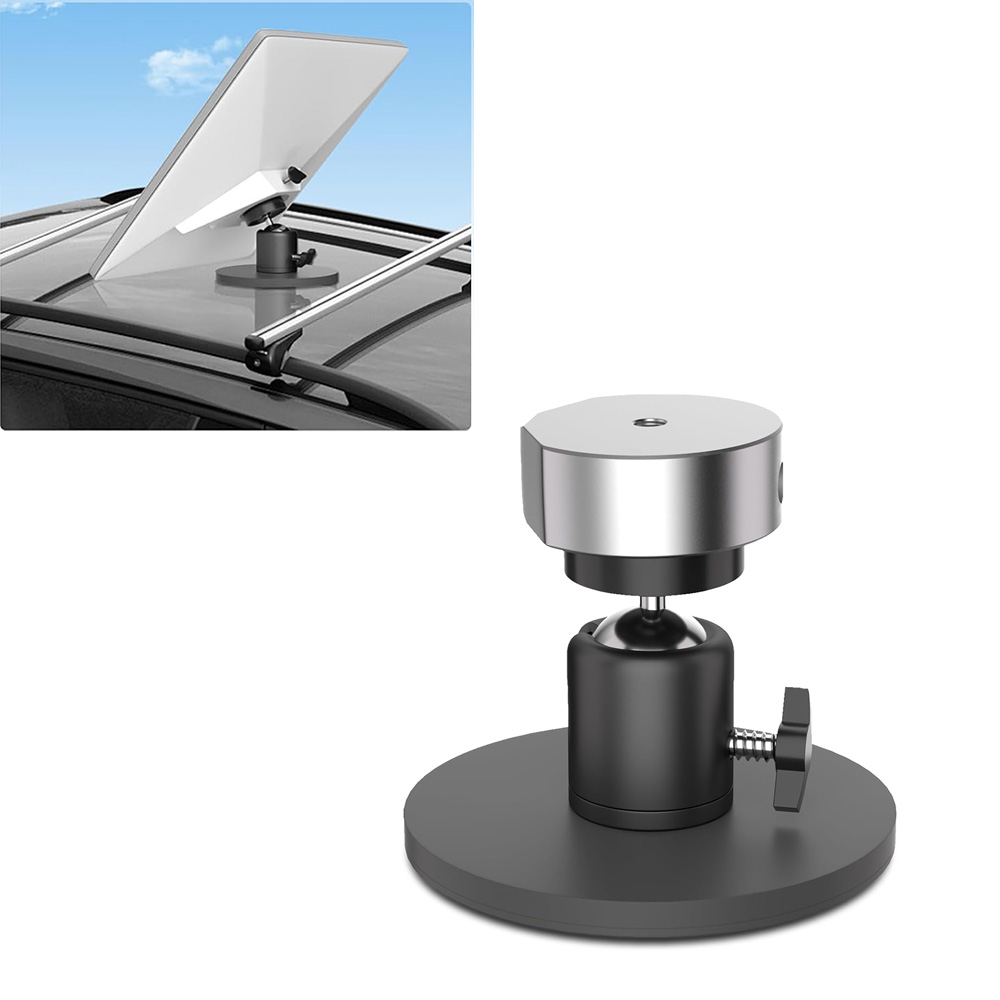
3. Sichere und stabile Montagemöglichkeiten
Die Stabilität wirkt sich direkt auf die Leistung Ihres Starlink Mini aus.
- Stative und Halterungen: Verwenden Sie eine stabile oder spezielle Halterung für den Starlink Mini. Dies sorgt dafür, dass das Gerät stabil und richtig ausgerichtet bleibt.
- Vibrationen minimieren: Stellen Sie das Gerät nicht auf instabile Oberflächen, die sich bei Wind oder Regen verschieben oder wackeln.
- Tragbare Montagelösungen: Zusammenklappbare Stative oder Saughalterungen ermöglichen eine flexible und dennoch zuverlässige Positionierung für mobile Aufbauten.
4. Richtige Ausrichtung
Der Starlink Mini richtet sich automatisch auf die Satelliten im Orbit aus, aber die richtige Positionierung kann die Ersteinrichtung beschleunigen und die Verbindungsqualität verbessern.
- Nördlicher oder südlicher Himmel: Abhängig von Ihrer Hemisphäre benötigt das Gerät im Allgemeinen eine klare Sicht zum Norden des Himmels (nördliche Hemisphäre) oder zum Süden des Himmels (südliche Hemisphäre).
- Verwenden der Starlink-App: Die mobile Starlink-App bietet eine Echtzeit-Signalstärkeanzeige und ein Tool zum „Hindernisfinder“, mit dem Sie den Winkel und die Platzierung des Geräts für optimalen Empfang anpassen können.
- Drehung und Neigung: Eine leichte Anpassung der Neigung oder Drehung des Starlink Mini kann einen spürbaren Unterschied in der Signalqualität bewirken.
5. Wetter- und Umweltaspekte
Die Bedingungen im Freien können die Leistung und Lebensdauer Ihres Starlink Mini beeinträchtigen.
- Regen und Schnee: Starke Niederschläge können zu vorübergehenden Verlangsamungen oder Signalabfällen führen, die als „Rain Fade“ bezeichnet werden. Obwohl der Starlink Mini wetterbeständig ist, ist es ratsam, ihn vor direkter Sonneneinstrahlung zu schützen, ohne die Sicht auf den Himmel zu blockieren.
- Temperaturextreme: Extreme Kälte oder Hitze können die Elektronik beeinträchtigen. Halten Sie das Gerät möglichst innerhalb der vom Hersteller empfohlenen Temperaturbereiche.
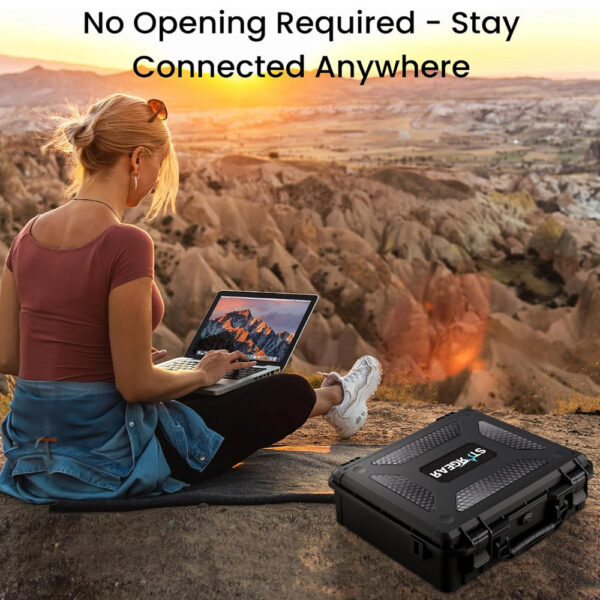
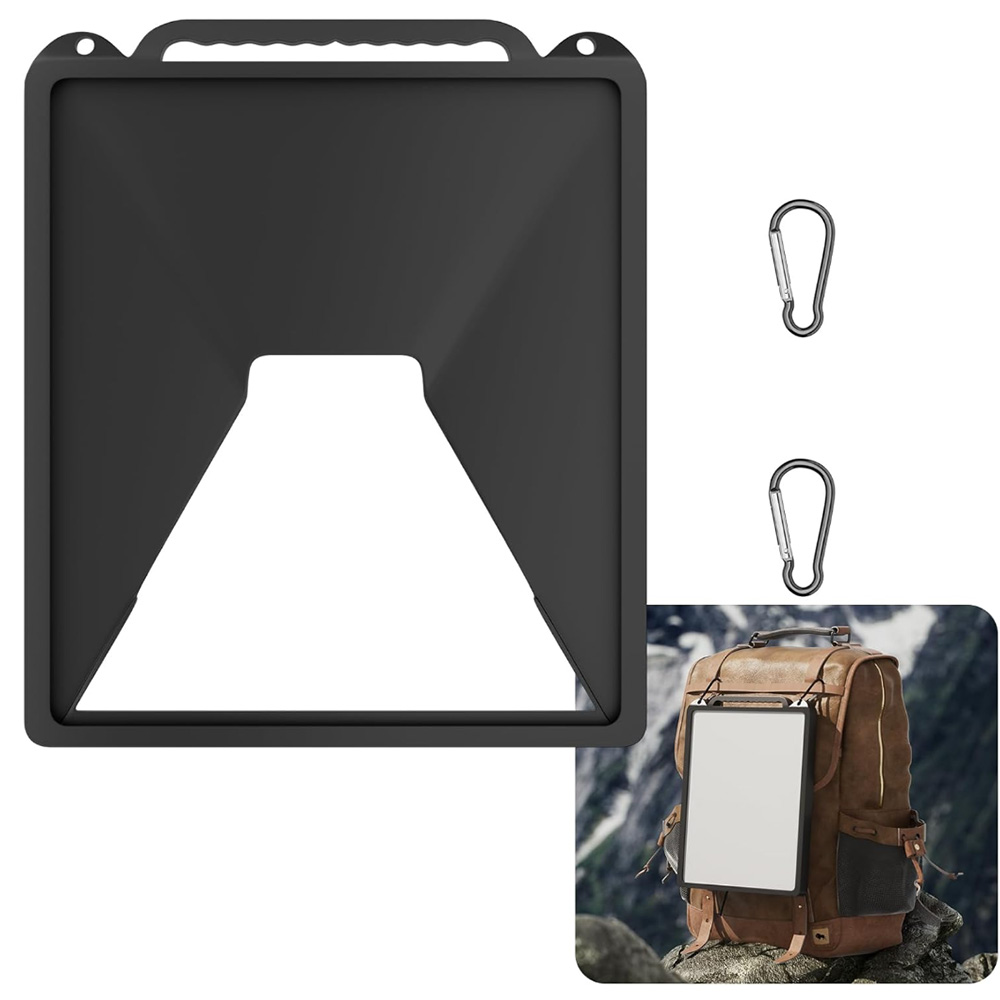
- Staub und Schmutz: Schutzabdeckungen oder -gehäuse verhindern, dass sich Staub, Sand oder Blätter auf der Antennenoberfläche ansammeln.
Ich glaube, du brauchst etwas, um Schützen Sie Ihren Starlink Mini.
6. Konnektivitätsüberwachung und Fehlerbehebung
Nach der Installation kann durch kontinuierliche Überwachung und gelegentliche Anpassungen eine optimale Leistung aufrechterhalten werden.
- Regelmäßige App-Checks: Die Starlink-App überwacht regelmäßig Verbindungsgeschwindigkeit, Latenz und Signalstärke.
- Firmware-Updates: Halten Sie die Firmware Ihres Starlink Mini auf dem neuesten Stand, um von Leistungsverbesserungen und Fehlerbehebungen zu profitieren.
- Neupositionierung: Wenn es zeitweise zu Verbindungsabbrüchen kommt, versuchen Sie, das Gerät neu zu positionieren oder neue Hindernisse (wie wachsende Äste) zu beseitigen.
- Antennenreinigung: Reinigen Sie die Oberfläche der Schüssel regelmäßig, um Schmutz oder Feuchtigkeit zu entfernen, die die Signalqualität beeinträchtigen könnten.
7. Zusätzliche Tipps zur Remote-Nutzung
- Datennutzungsplanung: Satelliten-Internet-Tarife unterliegen oft Datenbeschränkungen oder Fair-Use-Richtlinien. Planen Sie Ihre Online-Aktivitäten entsprechend, insbesondere in abgelegenen Gebieten.
- Sicherungsoptionen: Um bei Ausfällen in Verbindung zu bleiben, halten Sie eine alternative Internetlösung bereit, beispielsweise einen Mobilfunk-Hotspot oder Offline-Inhalte.
- Sicherheit geht vor: Achten Sie beim Aufbau im Freien darauf, dass die Kabel sicher befestigt sind, um Stolperfallen zu vermeiden und die Geräte vor Wildtieren oder Vandalismus geschützt sind.
Abschluss
Der Starlink Mini eröffnet neue Möglichkeiten für die Internetkonnektivität in abgelegenen und anspruchsvollen Umgebungen. Durch sorgfältige Standortauswahl zuverlässige Stromversorgung, Mit der richtigen Montage und regelmäßiger Überwachung können Sie fast überall schnelles und stabiles Internet genießen. Ob Sie remote arbeiten, Outdoor-Abenteuer erleben oder Notfallkommunikation einrichten – diese Tipps helfen Ihnen, das Beste aus Ihrem Starlink Mini-Setup herauszuholen.
Bleiben Sie in Verbindung, egal wohin Ihre Reise Sie führt.