Απόλυτος οδηγός: Πώς να εγκαταστήσετε τον προσαρμογέα σωλήνα Starlink Gen 3 για εγκατάσταση κάμπινγκ?
Setting up Starlink for your camping setup is one of the most effective ways to stay connected while traveling or exploring remote areas. The Προσαρμογέας σωλήνα απόδοσης Starlink Gen 3 is an essential accessory for ensuring your Starlink dish remains stable and functional in any environment.
We will walk you through the complete installation process, key features, and maintenance tips to ensure the best possible performance during your adventures.
1. Why Choose the Starlink Gen 3 Performance Pipe Adapter?
Ο Προσαρμογέας σωλήνα απόδοσης Starlink Gen 3 provides a secure, durable mounting solution for your Starlink dish. It’s designed to meet the needs of outdoor enthusiasts who rely on stable, high-speed internet access while camping, RV-ing, or off-roading.
The adapter allows you to mount your Starlink dish on a pole, offering flexibility in positioning and ensuring you capture the strongest signal. Built with high-quality materials and featuring an easy-to-install design, this adapter makes your Starlink setup both reliable and stylish. Here’s why this adapter is the perfect solution for your outdoor needs:
| Χαρακτηριστικό | Οφελος | Value |
|---|---|---|
| Made for Starlink Gen 3 Performance | Designed specifically for Starlink Gen 3, ensuring a precise, secure, and vibration-free fit. | Optimal signal performance with minimal interference, ensuring the best connection. |
| Wide Pole Compatibility | Fits poles with diameters ranging from 25mm to 55mm (0.98–2.17 in). | Versatile mounting options that work with a variety of poles, giving you flexibility in setup. |
| Stainless Steel & Corrosion-Resistant | Crafted from premium stainless steel and coated with a black anti-rust finish for durability. | Long-lasting performance in extreme weather conditions, reducing the need for frequent replacements. |
| Quick, Tool-Friendly Installation | Easy, no-tool installation allows for fast setup. | Time-saving installation—ideal for those who want to quickly enjoy their Starlink service. |
| Sleek Black Finish | Features a sleek, matte black finish that complements your Starlink dish. | Professional appearance that fits seamlessly with any RV or camping setup. |
These features make the Προσαρμογέας σωλήνα απόδοσης Starlink Gen 3 a must-have for anyone who values reliability, performance, and ease of use during their travels.
2. Step-by-Step Installation Guide
Once you’ve gathered the necessary tools and components, it’s time to install your Προσαρμογέας σωλήνα απόδοσης Starlink Gen 3. Below is a step-by-step breakdown to ensure your Starlink dish is securely mounted and aligned for optimal signal strength.

2.1 Gather Your Tools
Before you begin, make sure you have the following tools and items ready for the installation:
- Hex key wrench (included with the adapter)
- Mounting pipe (not included)
- Starlink Gen 3 Dish
- Attachment screws (included)
2.2 Step 1: Attach the Pipe Adapter to the Starlink Dish
Start by attaching the pipe adapter to the Starlink Gen 3 dish using the four corner screws provided. Tighten the screws securely with the hex key to ensure the adapter is properly fixed in place. This step is crucial, as a loose attachment could affect the stability and performance of your Starlink system.
2.3 Step 2: Loosen the Attachment Screws
Loosen the attachment screws on the pipe adapter to create enough space for the mounting pipe. This step makes it easier to slide the mounting pipe into position without resistance.

2.4 Step 3: Slide the Pipe Adapter onto the Mounting Pipe
Now, slide the pipe adapter onto the mounting pipe. Make sure the adapter is aligned properly and that there is enough space to adjust for optimal positioning. Tighten the screws lightly at this stage to prevent the adapter from sliding out of place.
2.5 Step 4: Secure the Pipe Adapter
After the pipe adapter is aligned correctly on the mounting pipe, use the hex key to fully tighten the attachment screws. Ensure the adapter is securely attached to prevent any movement, especially if exposed to strong winds or vibrations.
2.6 Step 5: Align the Starlink Dish
Use the Starlink app for guidance on properly aligning the dish. The app will help you rotate the dish to the correct angle for optimal signal strength. Proper alignment is key to ensuring the best performance, so follow the on-screen instructions carefully.
2.7 Step 6: Final Check and Secure the Installation
Once the dish is aligned and the pipe adapter is securely tightened, check for any movement or instability. If everything seems in place, your installation is complete! Your Προσαρμογέας σωλήνα απόδοσης Starlink Gen 3 is now ready to provide reliable internet service for your camping trip.
3. Tips for Maintaining Your Setup

To ensure that your Starlink system continues to perform at its best, follow these simple maintenance tips:
- Check the Screws Regularly: Over time, screws can loosen due to vibrations, so it’s important to check the tightness of all the screws, especially after strong winds or storms.
- Clean the Dish and Adapter: Dust, dirt, or debris can build up on your dish and adapter, potentially affecting performance. Regular cleaning will help maintain a clear connection and ensure your dish operates efficiently.
- Protect Your Setup: If you’re in an area prone to high winds or extreme weather, consider securing the pole with additional support to prevent movement and ensure stability.
- Check for Obstructions: Ensure that there are no objects, such as trees or buildings, obstructing the line of sight between your Starlink dish and the sky.
4. Common Issues and Troubleshooting

While the Απόδοση Starlink Gen 3 Pipe Προσαρμογέας is designed for durability, you may encounter a few issues that could impact performance. Here are some common problems and solutions:
4.1 Wobbly Dish
If your dish becomes wobbly or unstable, check to see if the attachment screws are loose. Tighten the screws with a hex key to restore stability. Additionally, verify that the mounting pipe is securely fastened.
4.2 Poor Signal Quality
If you experience a poor signal, double-check the alignment of your Starlink dish. The dish needs to be positioned at the correct angle for the best signal reception. Use the Starlink app to adjust the angle if necessary.
4.3 Harsh Weather Impact
If your dish is exposed to strong winds or heavy rain, ensure that the pole and adapter are secure. In extreme conditions, consider adding additional support to your setup for extra security.
5. Frequently Asked Questions

1. Do I need to purchase a separate pole?
Yes, the mounting pole is not included. However, the Προσαρμογέας σωλήνα απόδοσης Starlink Gen 3 is compatible with poles ranging from 25mm to 55mm in diameter.
2. How do I align the Starlink dish properly?
Use the Starlink app to guide you through the alignment process. The app provides step-by-step instructions to ensure the dish is positioned correctly.
3. What should I do if the dish is unstable?
Check that all screws are tight and that the mounting pipe is secure. If necessary, add extra support to the pole for improved stability.
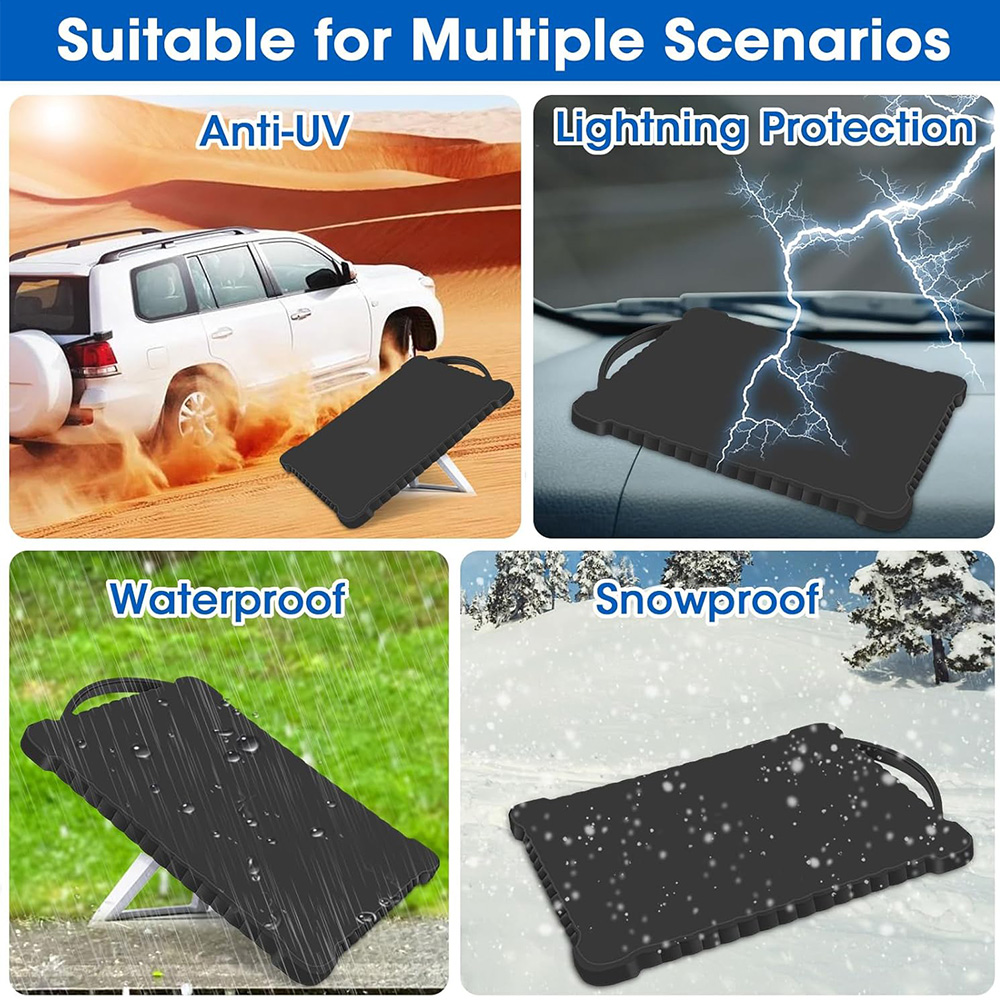
4. Can I use the adapter in harsh weather conditions?
Yes, the Προσαρμογέας σωλήνα απόδοσης Starlink Gen 3 is weather-resistant and built to withstand harsh outdoor conditions, ensuring durability and reliability.

5. How long does it take to install the adapter?
The installation typically takes around 20-30 minutes, depending on your experience and the setup.
Σύναψη
Installing the Προσαρμογέας σωλήνα απόδοσης Starlink Gen 3 is a straightforward process that ensures your Starlink dish remains stable and performs optimally, no matter where you are. By following the steps outlined in this guide, you’ll have your Starlink setup ready for reliable internet access during your camping or travel adventures. Remember to maintain your setup regularly and check the alignment for the best performance.
By adhering to the installation and maintenance tips, your Starlink system will continue to provide reliable, high-speed internet wherever your adventures take you!