The Starlink Mini’s compact design and portability have revolutionized connectivity for digital nomads, remote workers, and off-grid users. But its high value and mobile nature also make it a target in public spaces. In this post, we’ll explore essential Starlink Mini anti-theft mount solutions and security tips to help you protect your Starlink Mini wherever you go.
Whether using it in a shared RV campground, a construction site, or a temporary outdoor workspace, securing your Starlink Mini should be a top priority. In this article, we’ll walk you through practical tips and mounting options that reduce theft risk—starting with the most effective solution: an anti-theft mount.
Why Starlink Mini Is at Risk in Public Areas
The Starlink Mini’s small size and high value make it an attractive target for opportunistic thieves. Unlike traditional satellite equipment, it’s lightweight, easy to carry, and can be resold with little effort.
Scenarios where risk is higher:
- Public or communal RV parks
- Outdoor trade shows or remote work setups
- Rooftops with no physical security
- Construction or field sites with shifting crews
- Campsites or van-life parking zones
The Role of an Anti-Theft Mount
A high-quality anti-theft mount does two things:
- Physically locks the Starlink Mini to a fixed surface (roof rack, pole, wall bracket, etc.)
- Deters tampering with shielded fasteners and unique lock mechanisms
By installing an anti-theft mount, you add a layer of resistance that requires tools, time, and noise to overcome—three things most thieves don’t want to deal with.

Recommended Anti-Theft Mounting Tips
1. Choose a Lockable Mount Designed for Starlink Mini
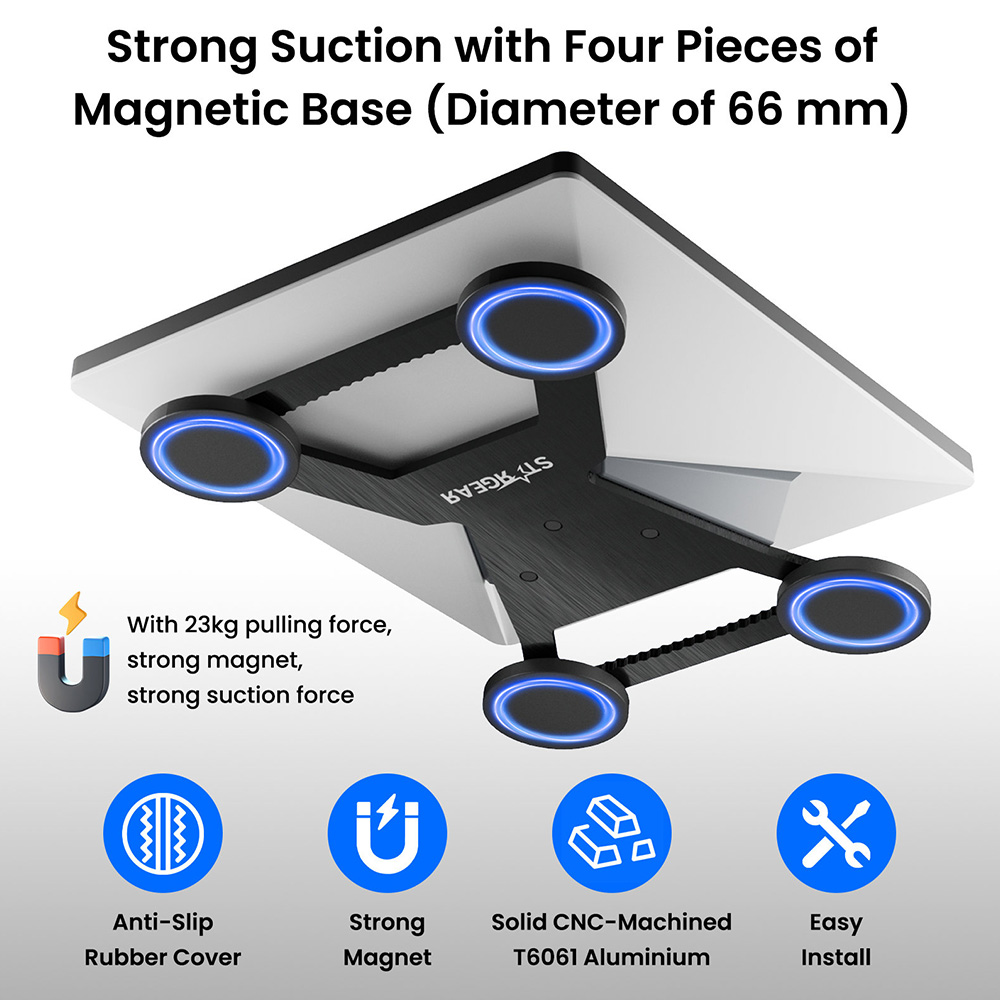
At Parts4Star, we recommend using mounts explicitly engineered for the Starlink Mini’s size, weight, and base design. Look for models with:
- Reinforced aluminum or stainless steel
- Hidden or tamper-proof fasteners
- Integrated padlock or cable lock support
- Weatherproof coating for outdoor durability
Pro Tip: Our Starlink Mini Anti-Theft Roof Mount is designed to fit securely to standard roof rails or flat panels, offering reliable protection without sacrificing signal quality.

2. Install on a Permanent or Semi-Permanent Surface
Mount your Starlink Mini on:
- Metal roof rails of RVs or camper vans
- Concrete bases (construction sites)
- Decks or cabin walls
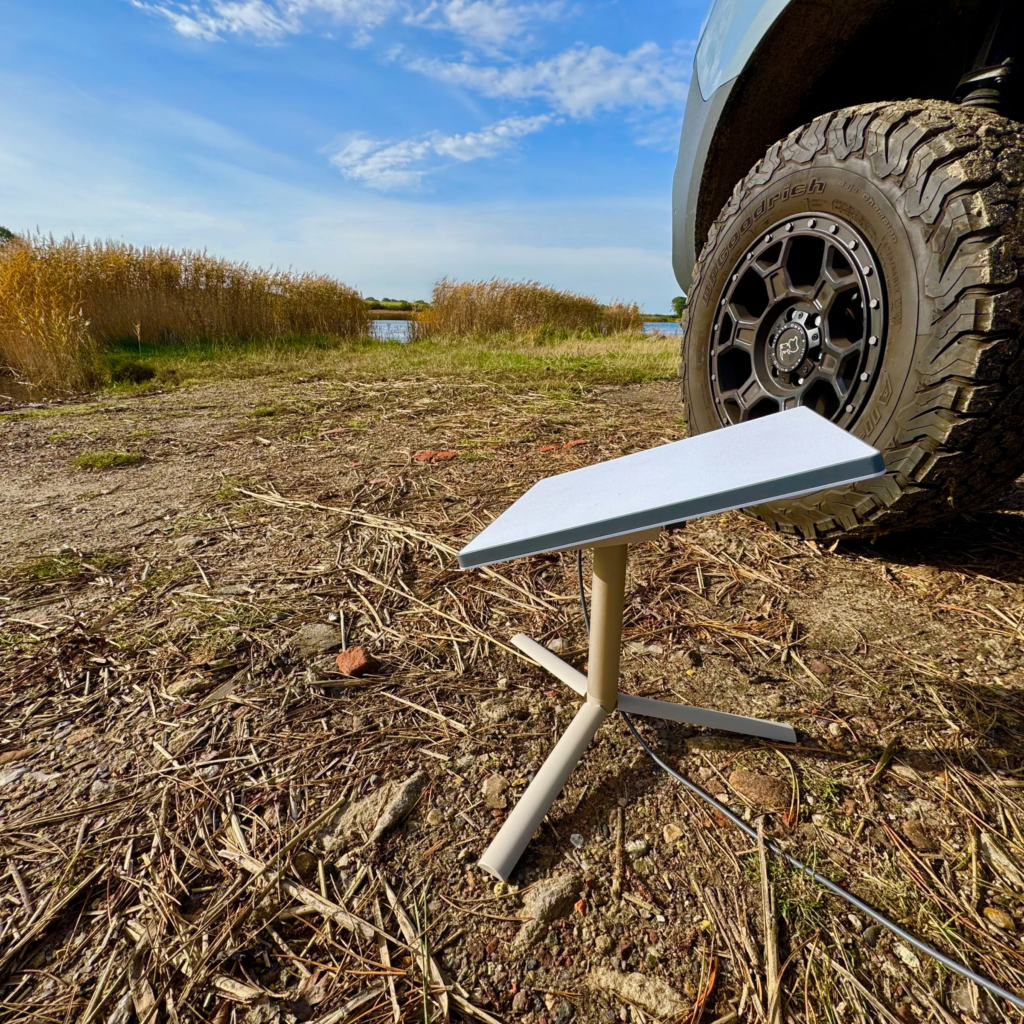
Avoid temporary stands, plastic surfaces, or tripod setups in public areas.

3. Use Additional Cable Locks or GPS Tags
For high-risk areas:
- Add a braided steel cable lock from the mount to a fixed structure
- Install a Bluetooth/GPS tracker inside the mount or base for recovery assistance if stolen
4. Avoid Obvious Locations When Possible
While Starlink needs clear sky visibility, avoid mounting directly at ground level or in plain sight. Elevated positions with less foot traffic reduce exposure and tampering risk.
5. Remove the Dish When Not in Use
If you only use Starlink occasionally, consider removing the dish when idle, especially in urban or unsecured environments. Store it in a lockbox or inside your vehicle.
Final Thoughts
With the growing use of Starlink Mini in mobile and public setups, theft prevention is more important than ever. A properly installed anti-theft mount protects your investment and gives you peace of mind in any environment.
At Parts4Star, we offer a selection of Starlink-compatible mounts and accessories built for real-world durability and security. Explore our catalog to find the right mounting solution for your needs.
Ready to secure your Starlink Mini?
Let us know if you’d like to expand this into a series (e.g., RV setups, construction site guides, signal optimization tips).
specifically
Now there is a fake with the domain name https://instantseaudit.com/ copying us, please boycott him with us to prevent being scammed!
The correct domain name is https://parts4star.com/