If you want to boost your Starlink connection speed, stability, and versatility, installing an Ethernet Adapter for Starlink Gen 2 is a game-changer. With this upgrade, you can connect your Starlink router to third-party routers, network switches, gaming consoles, or wired devices, giving you a broader and stronger signal throughout your home. The best part? You can do it in 5 minutes — even if you’re not a tech expert.
In this guide, I’ll walk you through installing the Ethernet Adapter Starlink Gen 2 like a pro, share some common pitfalls, and explain how to avoid them.

1. Why Use an Ethernet Adapter for Starlink Gen 2?
While the Starlink Wi-Fi router works great for wireless devices, many users prefer a wired connection for several reasons:
- Stable internet for gaming (no lag spikes)
- High-speed data transfer for PCs and smart TVs
- Better coverage using third-party routers or mesh systems
- Connecting wired devices like VoIP phones, printers, or security cameras
El Ethernet Adapter Starlink Gen 2 bridges the gap between Starlink’s modern satellite internet and traditional wired networking, giving you the best of both worlds.

2. What You’ll Need Before Installation
Before starting, make sure the following items are ready:
- Starlink Gen 2 dish (Standard Actuated V2) – this guide is not for Gen 1, Gen 3, or high-performance models.
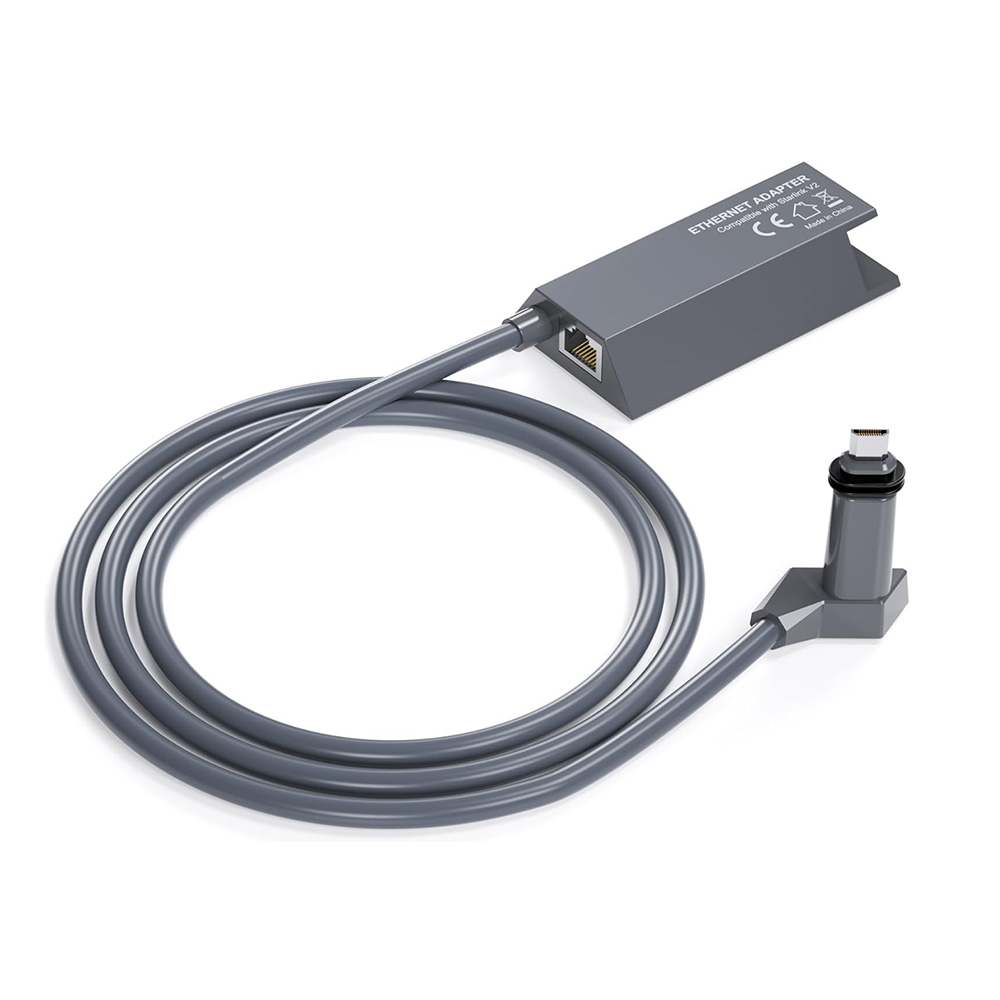
- Adaptador Ethernet Starlink – designed for Gen 2 compatibility.
- RJ45 Ethernet Cable – length depending on your setup.
- Optional: Third-party router, network switch, or other wired device.
💡 Pro Tip: Check your Ethernet adapter’s cable length (most are around 1 meter) and plan the position of your devices before starting.
3. Step-by-Step: How to Install Ethernet Adapter Starlink Gen 2
One : Power Down Your Starlink System
Before connecting anything, unplug your Starlink router from power. This ensures a safe and smooth installation process.
Two : Disconnect the Starlink Cable
Locate the cable running from your Starlink dish to the router. Gently unplug it from the router’s input port.
Three : Connect the Ethernet Adapter
- Plug the Starlink cable from the dish into the input port of the Ethernet adapter.
- On the output port, connect a new Starlink cable (provided with your system) to your Starlink router.
Four : Add the RJ45 Cable for Wired Devices
- Use an RJ45 cable to connect the Ethernet port on the adapter to your third-party router, PC, switch, or other wired device.
- This will allow simultaneous Wi-Fi from the Starlink router and a stable wired connection.
Five : Power Up and Test
Plug the Starlink router back in and wait a few minutes for it to boot. Test both your Wi-Fi and wired connection to confirm everything works.

4. Common Problems and How to Fix Them
No Internet on Wired Devices ?
- Double-check that the RJ45 cable is firmly connected to the adapter and your device.
- Restart the Starlink router and the connected device.
Adapter Not Detected ?
- Ensure you have the correct adapter for Gen 2.
- Verify that all connections are secure — Starlink cables should click into place.

Weak or Intermittent Signal ?
- Avoid placing your Starlink router or third-party router in enclosed spaces.
- If using a mesh system, configure it in bridge mode to prevent network conflicts.
5. Devices You Can Connect with Ethernet Adapter Starlink Gen 2
Thanks to the adapter’s broad compatibility, you can connect:
- Smart TVs for smooth 4K streaming
- Network switches for multiple wired connections
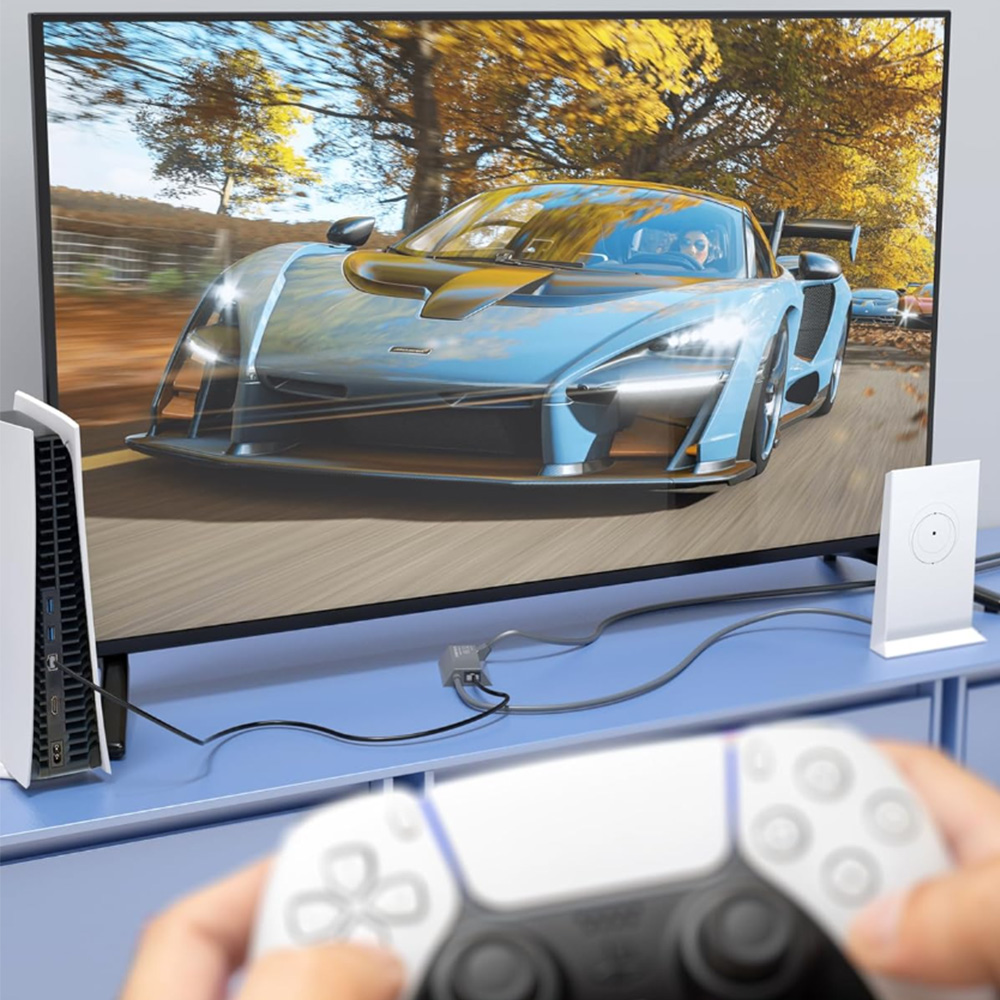
- Gaming consoles like PlayStation or Xbox
- Desktop PCs for high-speed downloads
- Printers for stable network printing
- VoIP phones for clear calls
- Security cameras for reliable surveillance feeds
6. Pro Tips for a Professional Installation
- Plan your network layout: Place routers in central locations for even coverage.
- Consider surge protection: Protects your Starlink equipment from power spikes.
Conclusión
Installing an Ethernet Adapter for Starlink Gen 2 is one of the simplest yet most impactful upgrades you can make to your Starlink setup. In just a few minutes, you can enjoy the stability of wired connections while keeping your Wi-Fi active for mobile devices. This small device delivers significant results, whether gaming, streaming, or working from home.
By following these steps and avoiding common mistakes, you’ll have your Starlink Ethernet Adapter running like a pro — all set for faster, more reliable internet across your home.