In today’s world, reliable internet is essential for work, entertainment, and staying connected. For those using Starlink for satellite internet, having the right mount for your dish can ensure optimal signal strength and uninterrupted performance. The Starlink Mini Tripod Mount is a portable and sturdy solution, designed to provide excellent stability while making it easy to set up and secure your Starlink dish for optimal performance. Here’s how to install and secure the Starlink Mini Tripod Mount for the best internet experience.

What You’ll Need:
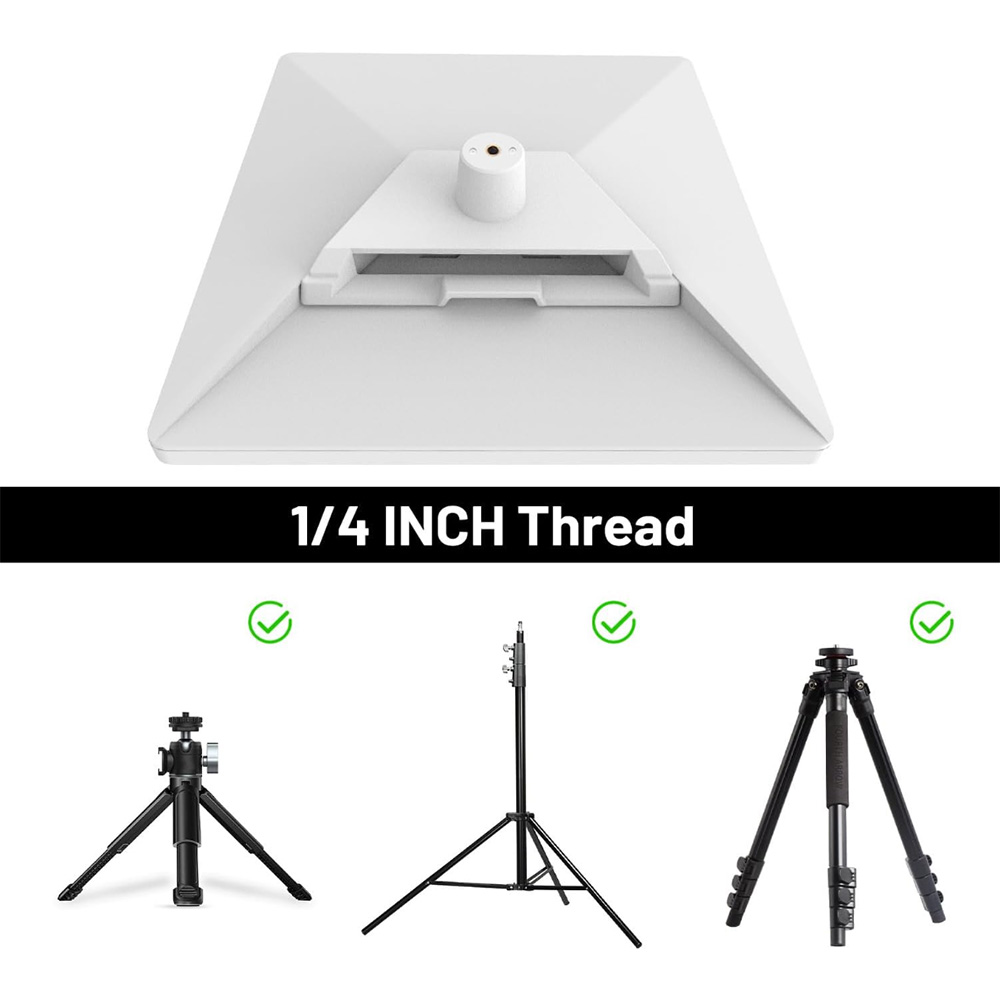
- Starlink Mini Tripod Mount
- Starlink Dish
- Leveling Tool (optional)
- Firm, secure surface for placement (e.g., flat ground, roof, or deck)
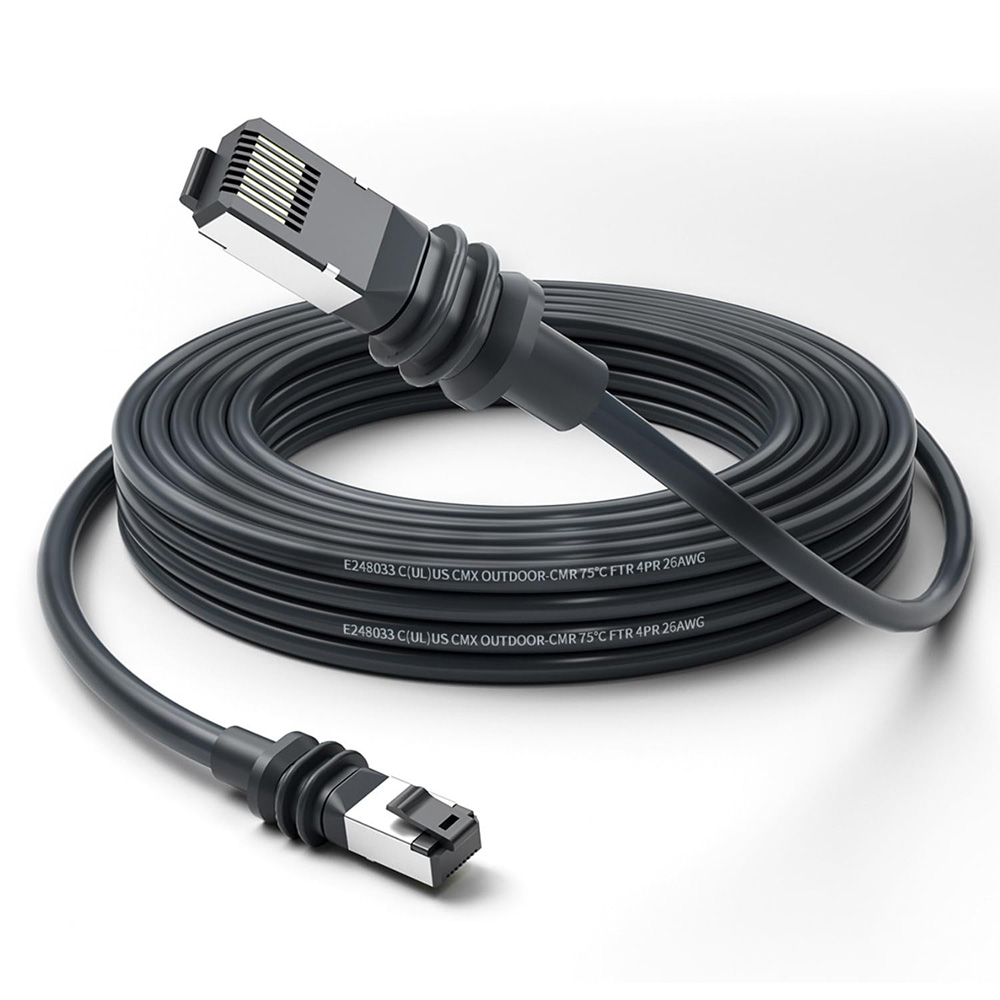
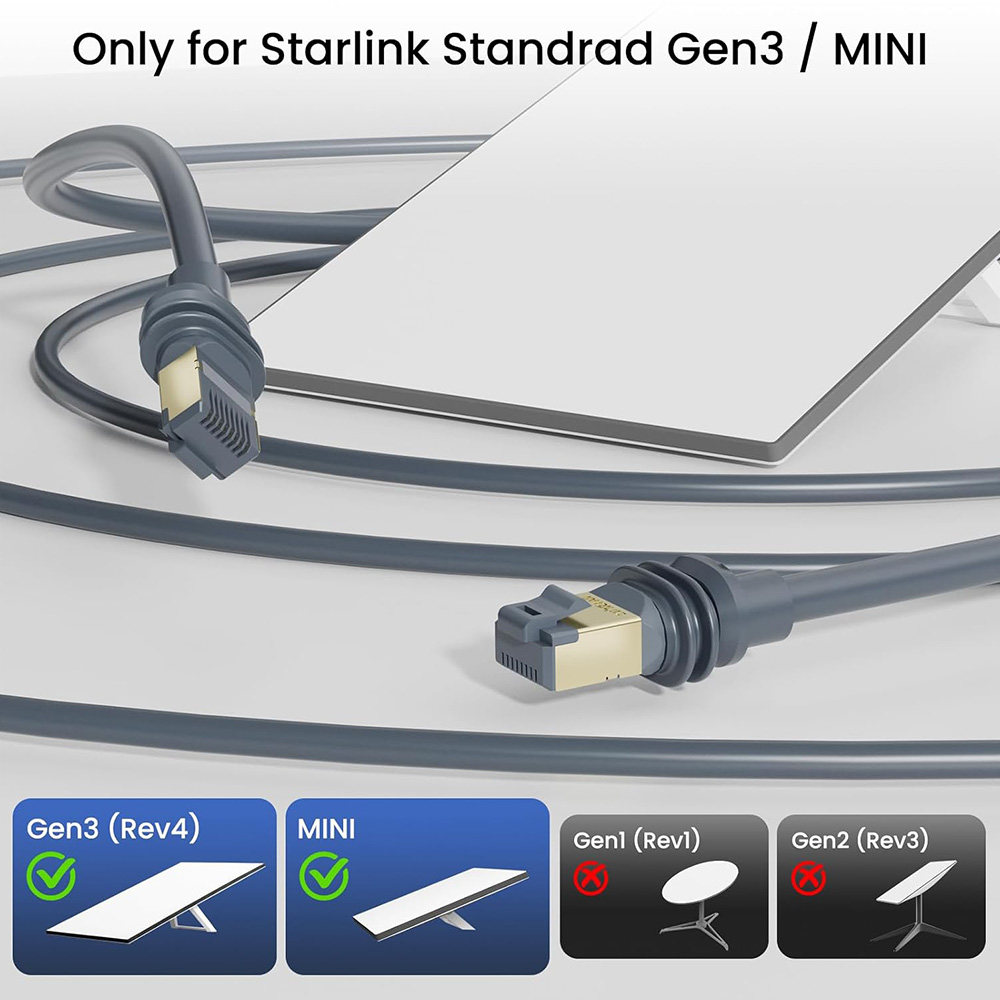
- Starlink cable and power supply
- Tools for securing the tripod (e.g., rope, straps, or anchors, depending on your environment)
Step 1: Choosing the Right Location
Before setting up your Starlink dish with the Mini Tripod Mount, the first step is to choose the correct location. The dish needs a clear line of sight to the sky for optimal signal reception. Choose a location with minimal obstructions like buildings or trees that could block the signal.
If you plan to use the tripod mount outdoors, ensure that the surface is flat and stable to provide a solid foundation for the tripod.
Step 2: Assembling the Tripod Mount
The design of the Starlink Mini Tripod Mount makes assembly easy. Follow these steps:
- Unbox the tripod mount and check that all parts are included.
- Attach the tripod legs to the central mounting point, ensuring they are securely connected. These legs are adjustable, so you can set them to the desired length based on the height you want for your Starlink dish.
- Tighten any screws or bolts to ensure the tripod is stable and won’t wobble.

Step 3: Securing the Mount
Now that the tripod mount is assembled, it’s time to properly position and secure it. Here are a few key considerations:
- For Roof or Deck Placement: If you’reyou place the mount on a roof or deck, ensure the tripod is stable and won’t tip over. Use strong ropes or straps to secure the legs to a secure anchor point to prevent wind or movement from disrupting the setup.
- For Ground Placement: If the mount is on the ground, ensure it is placed on a flat, hard surface. You can use stakes or anchors to secure the legs to the ground for added stability.
- Leveling: Your Starlink dish must be positioned at the correct angle for optimal signal reception. Use a leveling tool to check that the mount is level, or adjust the angle of the dish accordingly. Starlink’s app can help you find the ideal angle for your location.
Step 4: Attaching the Starlink Dish
Secure the tripod mount, then attach the Starlink dish to the mounting plate. Snap the dish into place and ensure it is tightly fastened to prevent it from falling or being displaced.
- Position the dish carefully, ensuring the cable entry is facing the right direction for easy connection.
- Once the dish is secured to the mount, connect the Starlink cable to the dish and ensure the cable is firmly in place.
Step 5: Adjusting for Optimal Signal
After the dish is securely mounted, it’s essential to ensure that the dish is in the best possible position for optimal internet performance:
- Positioning: Use the Starlink app to help you determine the best angle and direction for your dish. The app will guide you in fine-tuning the positioning for the best signal reception.
- Clear Line of Sight: Again, ensure no obstructions around the dish could block the satellite signal. Make adjustments as needed for optimal performance.
Step 6: Testing and Final Adjustments
Once everything is set up, it’s time to test the internet connection. Power on your Starlink system and check for internet performance using your device. If the signal is weak or inconsistent, you may need to adjust the positioning of the dish or mount for better reception.
- Use the Starlink app’s signal strength indicator to make fine adjustments to the dish’s alignment.
- Ensure the mount and dish are secure before leaving them in place for long periods.
Step 7: Regular Maintenance
Although the Starlink Mini Tripod Mount is durable and weather-resistant, you must perform regular maintenance to keep your setup running smoothly.
- Check the tripod’s stability periodically and tighten any loose components.
- Ensure the dish remains clear of debris or obstructions.
- Consider bringing the dish inside or securing it further during extreme weather conditions to prevent damage from the wind or heavy snow.
Conclusion
The Starlink Mini Tripod Mount is a fantastic solution for those who need flexibility and portability with their satellite internet setup. By following these installation and securing steps, you optimize your Starlink system for maximum performance. Whether you’re using it on the go or in a permanent location, proper setup and maintenance will help you enjoy a fast and reliable internet connection no matter where you are.