


As Starlink Gen 3 continues to roll out with improved hardware and faster connectivity, many users seek to secure their satellite dish more reliably—especially on rooftops. A solid mounting setup isn't just about stability; it's also about maximizing performance and protecting your equipment from harsh weather conditions.
In this guide, we'll discuss some of the best roof mount accessories for Starlink Gen 3 that are worth your attention.

Why a Proper Roof Mount Matters
A secure and well-angled mount is essential for maintaining a clear line of sight to the satellites. Whether you're you're in a rural area or an urban zone with potential obstructions, a high-quality roof mount can:
- Prevent signal drops caused by shifting or vibration
- Withstand wind, snow, and heavy rain
- Ensure the dish remains at the correct elevation and azimuth angle
- Extend the lifespan of your hardware by preventing corrosion or mechanical stress
Top Starlink Gen 3 Roof Mount Accessories
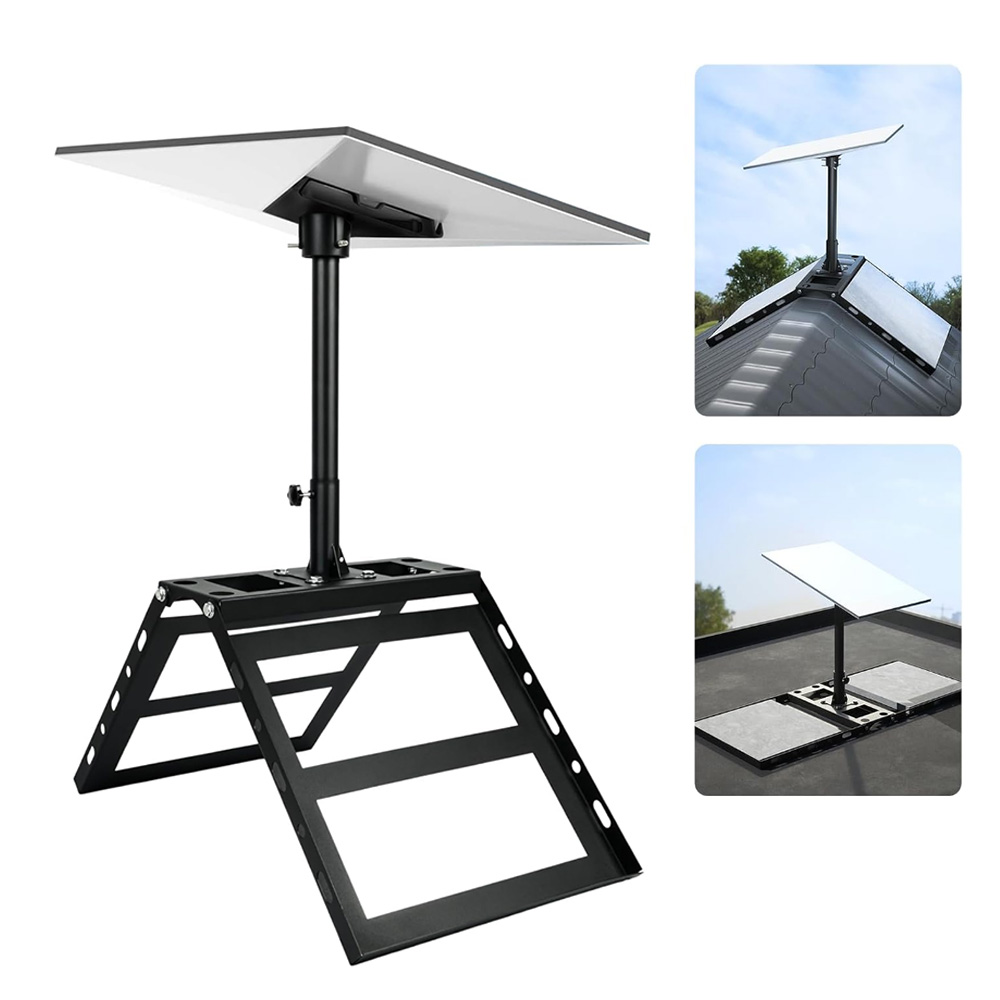
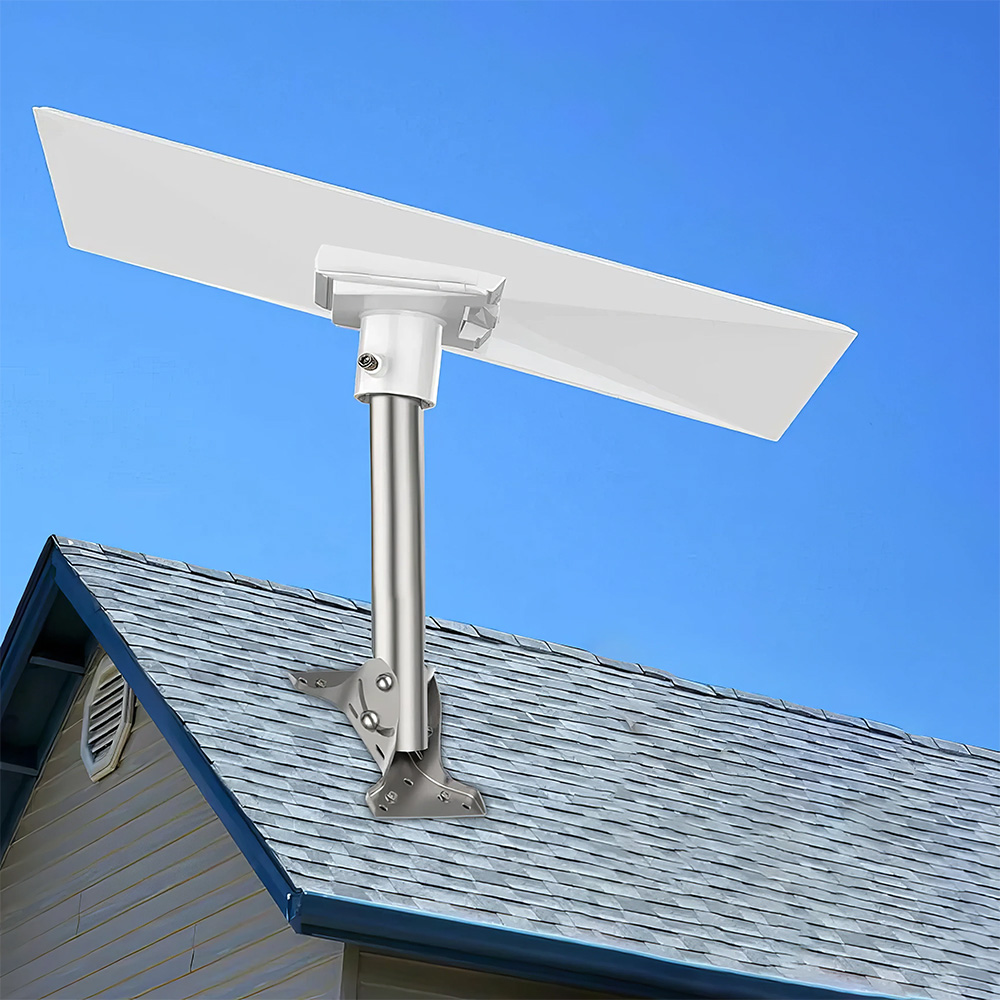
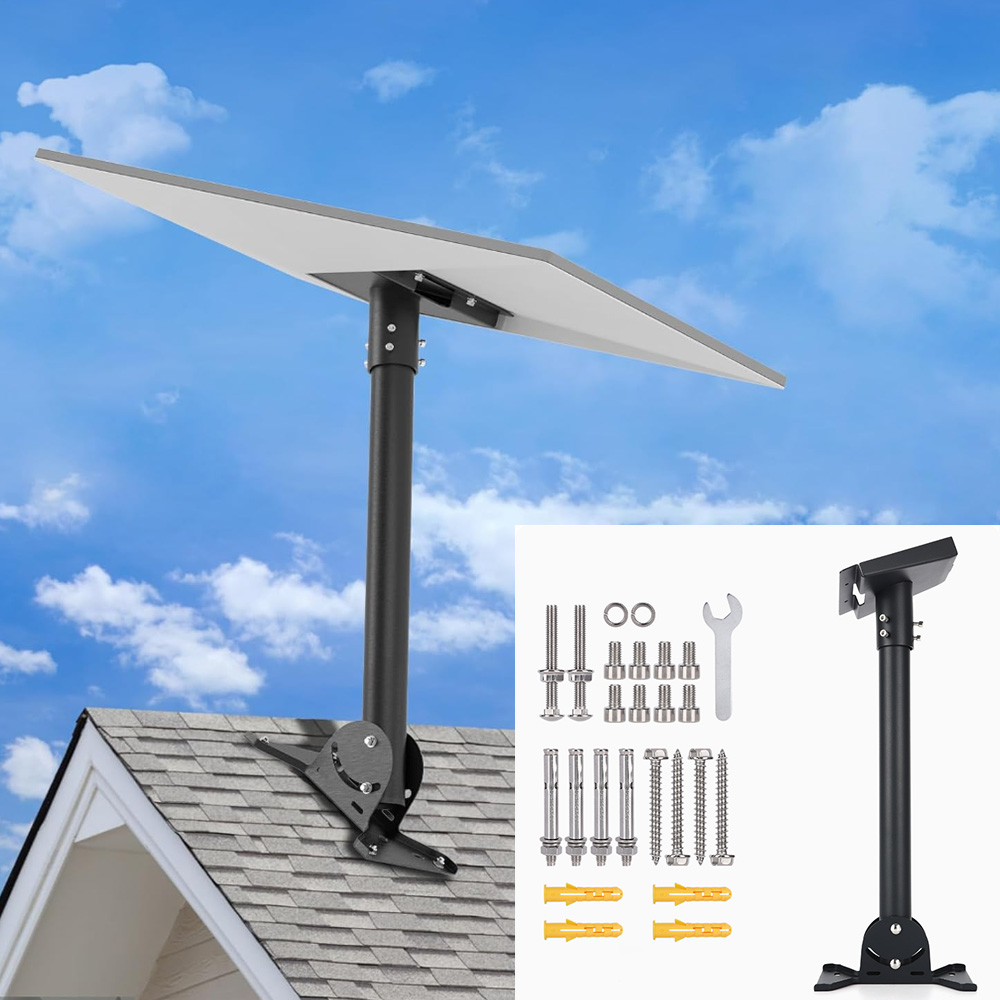
1. J-Mount Bracket for Starlink Gen 3
The classic J-mount remains a favorite for its versatility and ease of installation. This amount is designed to support vertical and angled roofs and offers excellent strength while keeping a low profile.
Key Features:
- Powder-coated steel for weather resistance
- Adjustable tilt for precise alignment
- Compatible with most roof types
✅ Available now on parts4star.com
2. Starlink Gen 3 Flashing Mount Kit
If you want a leak-free and permanent installation, the flashing mount is a must. It integrates with your roofing shingles to create a waterproof seal, ideal for homes in rainy or snowy climates.
Key Features:
- Built-in flashing plate for moisture control
- Easy integration with asphalt shingles
- Includes hardware for secure anchoring
3. Pole-to-Roof Adapter
Some users prefer installing their Starlink on an existing pole structure. A pole-to-roof adapter is perfect for those situations, allowing you to repurpose current mounts or TV poles for your Starlink system.
Key Features:
- Universal fit for standard 1.5"to 2" diameter poles
- Heavy-duty U-bolts for secure grip
- Ideal for temporary or semi-permanent setups

4. Cable Management Kit
A clean install isn't complete without cable routing. Add a cable management kit to avoid tangling, moisture seepage, or accidental snags.
Includes:
- UV-resistant cable clips
- Weatherproof conduit tubing
- Sealant for roof cable entry

5. Roof Sealant & Gasket Kit
Sealing the mount is critical whether you're using a flashing kit or not. A dedicated gasket and sealant kit prevents leaks and thermal damage over time.
Recommended for:
- Asphalt, metal, or tile roofs
- DIY and professional installs
- Long-term weatherproofing
Tips for a Safe and Effective Roof Installation
- Always wear proper safety gear and use fall protection.
- Check local building codes—some areas require permits for satellite dish installation.
- Avoid mounting near chimneys, trees, or metal objects that may interfere with the signal.
- After installation, test signal quality in the Starlink app and fine-tune the position if needed.
Final Thoughts
Investing in the right Starlink Gen 3 roof mount accessories isn't just a convenience—it's a long-term investment in stability, speed, and service continuity. At Parts4Star.com, we carry a wide selection of durable, weather-resistant Starlink accessories tailored for Gen 3 users. Whether you're installing it on a flat roof or steep shingle surface, we've got what you need.
? Browse our full Starlink Gen 3 accessory catalog and upgrade your installation today.
Leave a comment
This site is protected by hCaptcha and the hCaptcha Privacy Policy and Terms of Service apply.