

Gunung Gen 2
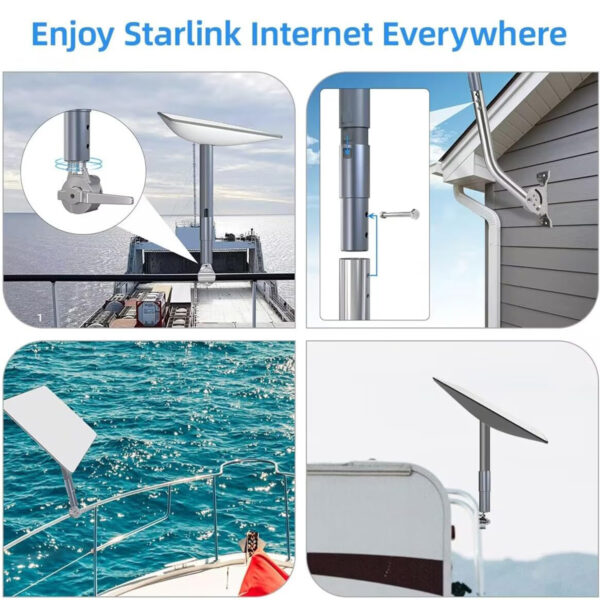
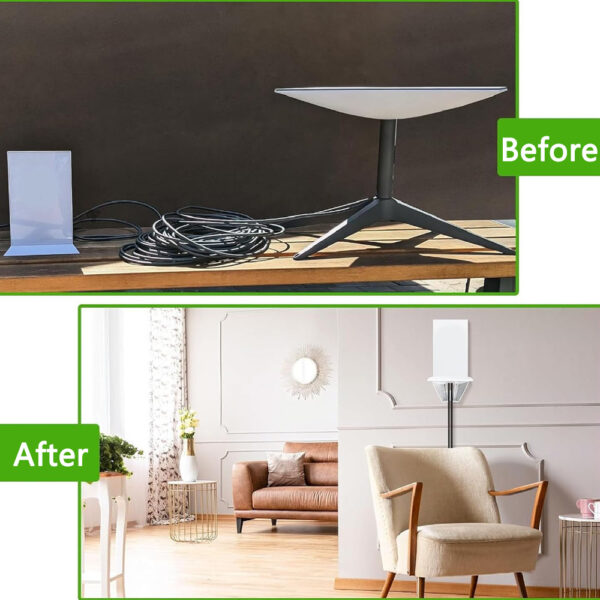
Lekatkan piringan Starlink Gen 2 anda dengan dudukan kukuh kami, direka bentuk untuk tetapan bumbung, dinding atau tanah. Ia menyediakan penerimaan isyarat yang stabil dan ketahanan yang tahan lama. Dengan kedudukan fleksibel untuk isyarat terbaik dan binaan kalis cuaca, ia sesuai untuk kegunaan luar bandar, mudah alih atau luar grid.
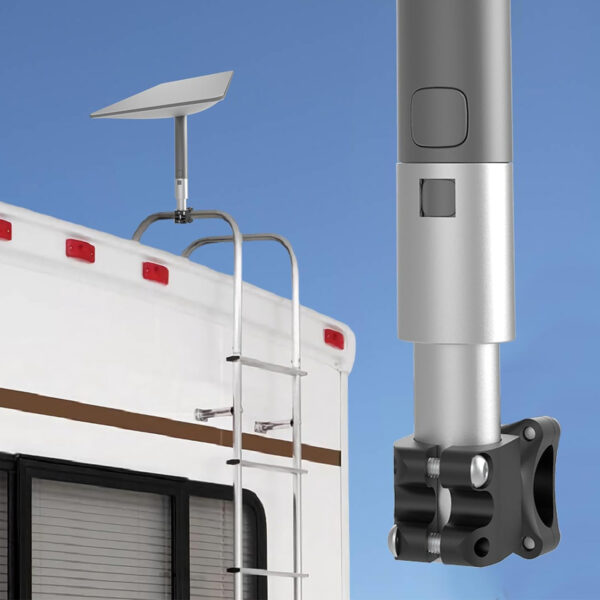
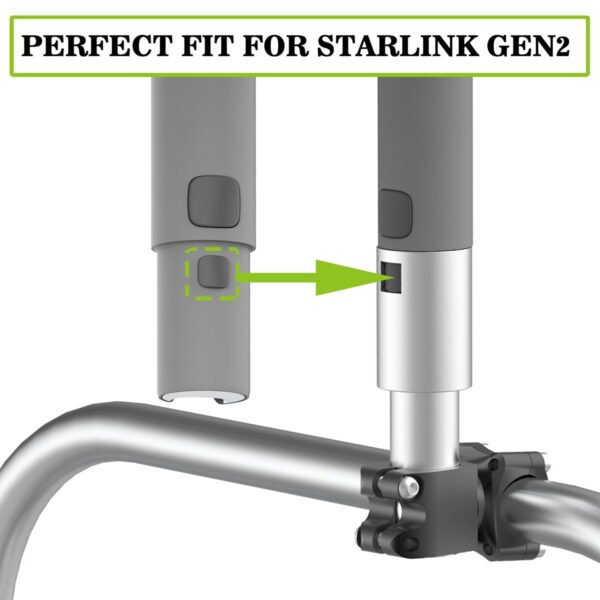


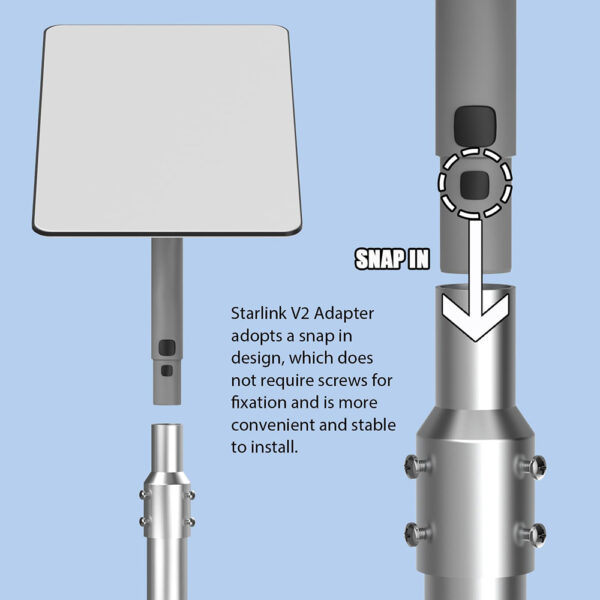
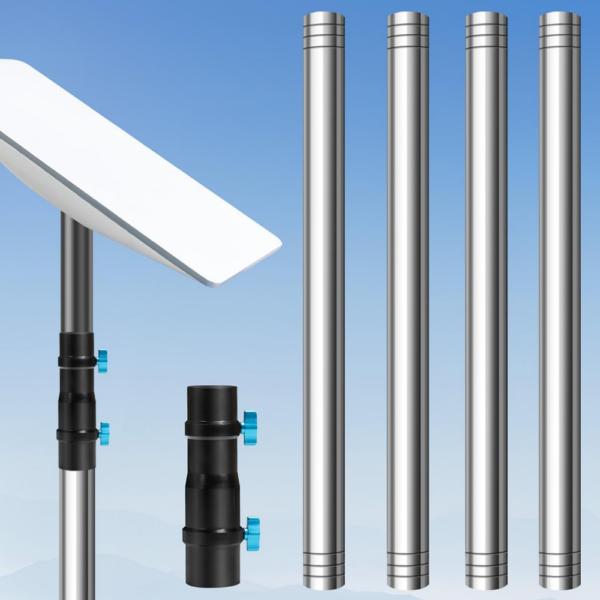
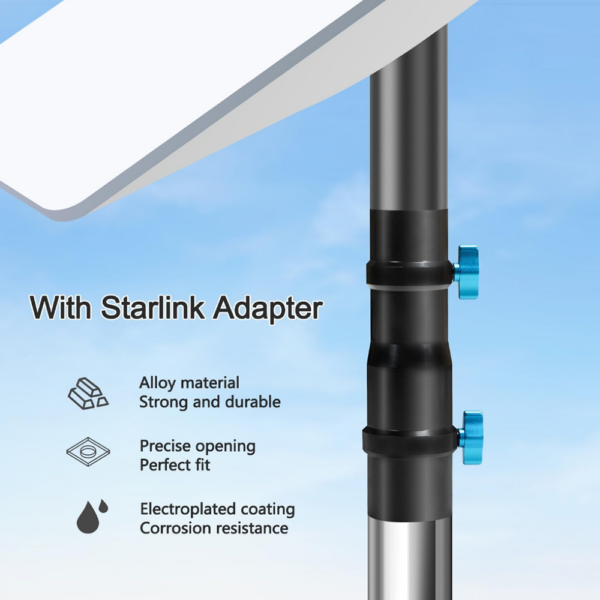


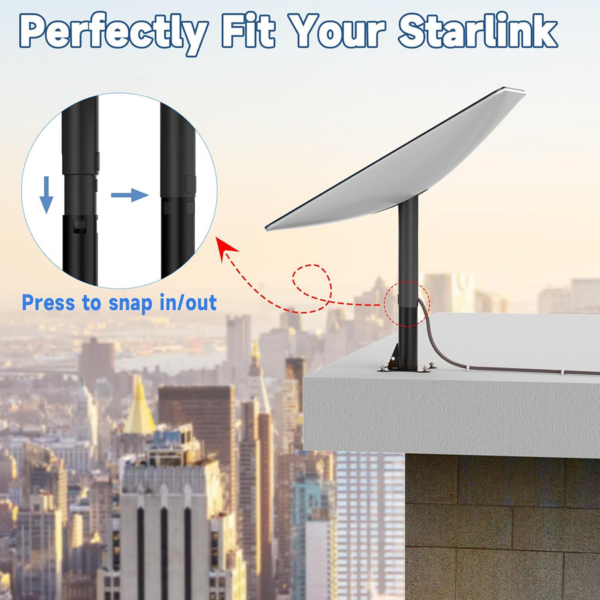

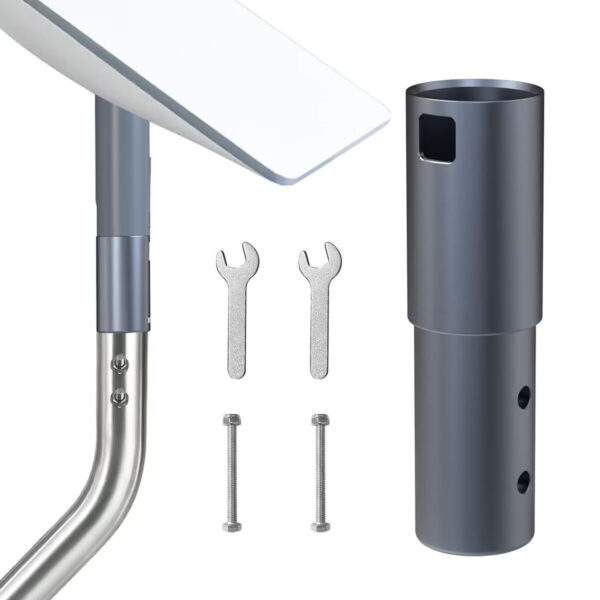


Pemasangan Tiang Starlink Gen 2
Memasang Starlink Gen 2 piring pada tiang pantas dan kukuh dengan pendakap keluli tugas berat ini. Direka untuk rel RV, tiang pagar dan paip luar menegak, ia memberikan kestabilan dalam angin kencang dan tahan kakisan. Pemasangan tiang Starlink Gen 2 kini terdapat dalam stok di laman web kami dengan bolt-U yang disertakan untuk pemasangan pantas.
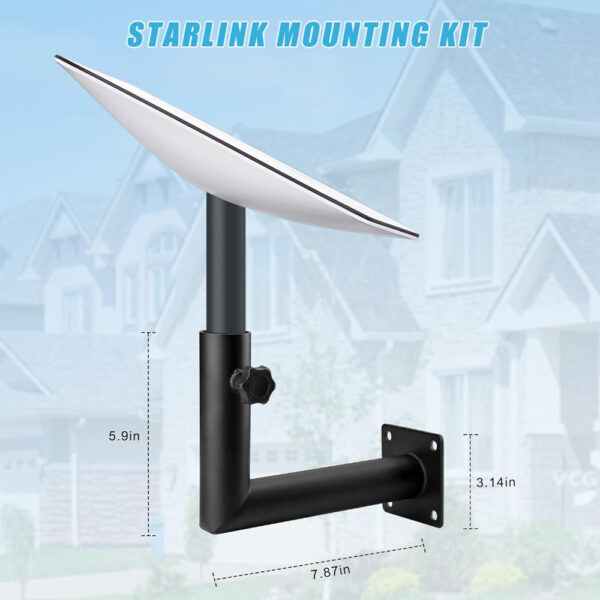
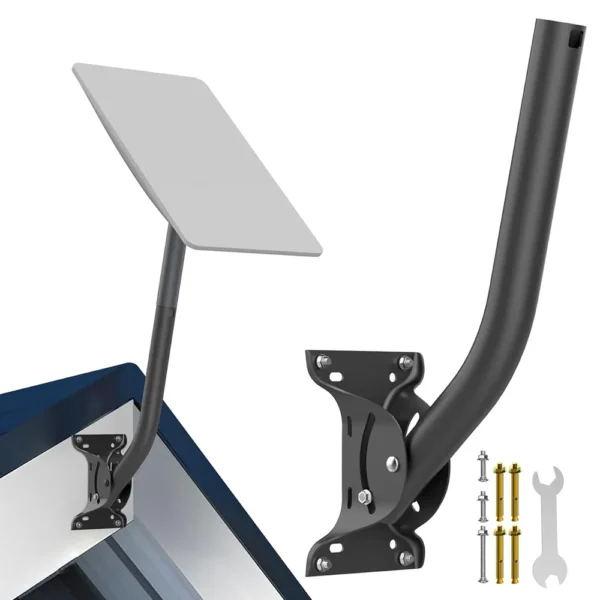
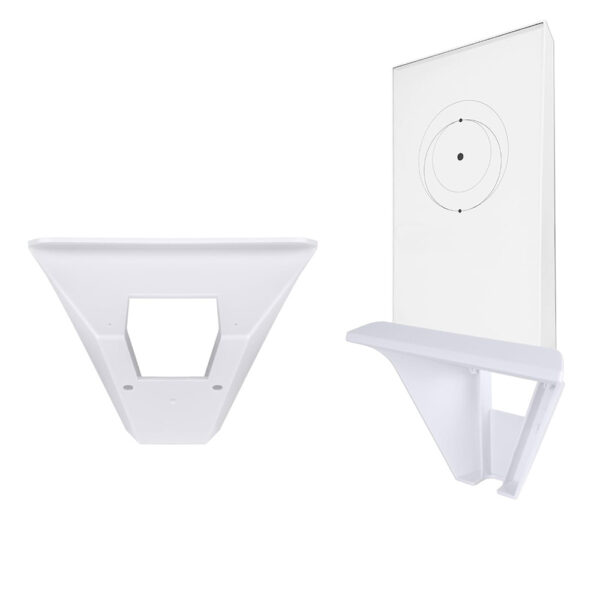
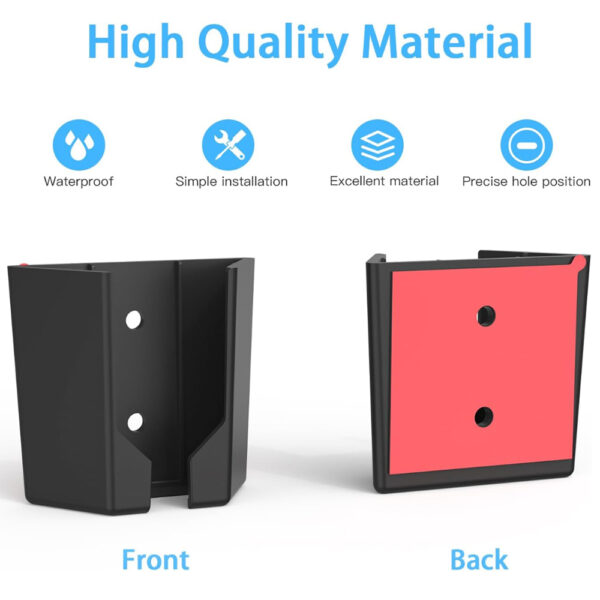
Pemasangan Dinding Starlink Gen 2
Pasangkan piring satelit anda pada mana-mana dinding menegak dengan pendakap keluli tahan cuaca ini. Reka bentuk bersudutnya meningkatkan penjajaran dan kekal kukuh dalam keadaan luar yang keras. Pelekap dinding Starlink Gen 2 didatangkan dengan perkakasan pemasangan dan kini tersedia untuk penghantaran cepat dari kedai kami.
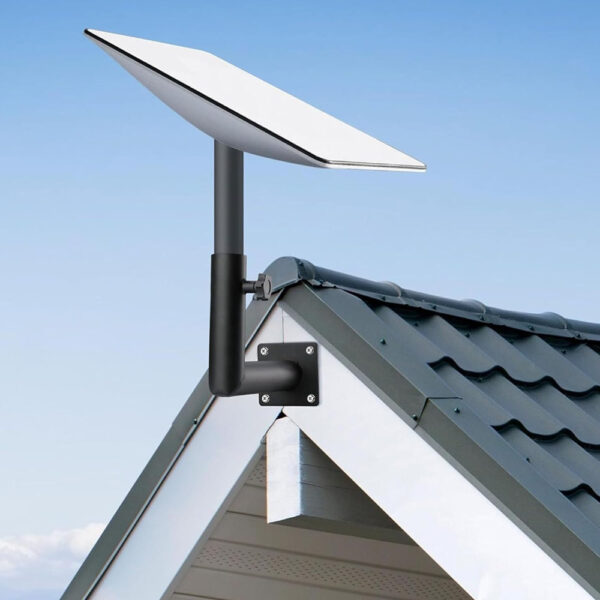
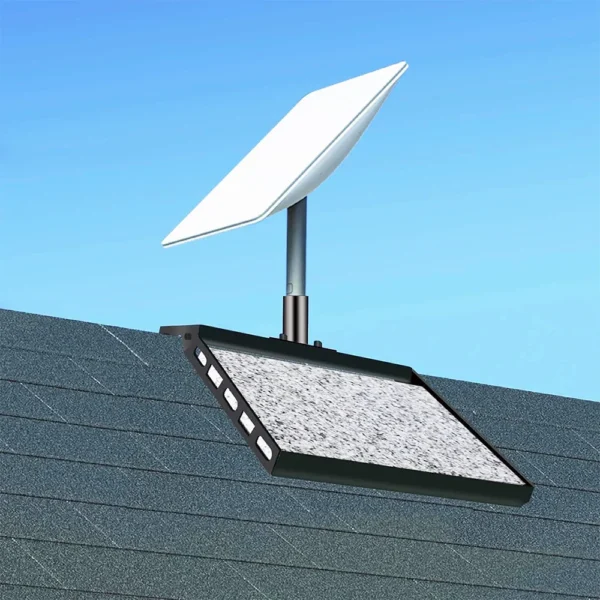
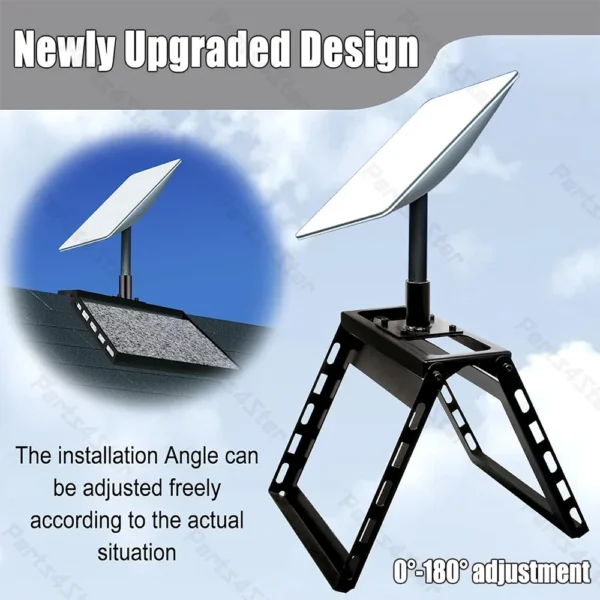
Pemasangan Bumbung Starlink Gen 2
Pasangkan piring anda di atas bumbung yang condong atau rata menggunakan tapak logam tahan kakisan yang direka bentuk untuk ketahanan jangka panjang. Pemasangan bumbung Starlink Gen 2 menawarkan cengkaman yang kukuh dalam persekitaran berangin dan sebati dengan kebanyakan permukaan bumbung. Kini tersedia untuk pemasangan bumbung yang andal.
Pemasangan Rata Starlink Gen 2
Permukaan rata seperti patio, dek atau balkoni sesuai untuk penyelesaian pelekap berprofil rendah dan stabil ini. Dibina daripada keluli tahan karat dan mempunyai kaki yang tidak licin, Pemasangan rata Starlink Gen 2 menjadikan penempatan pinggan mudah dan tanpa alat.
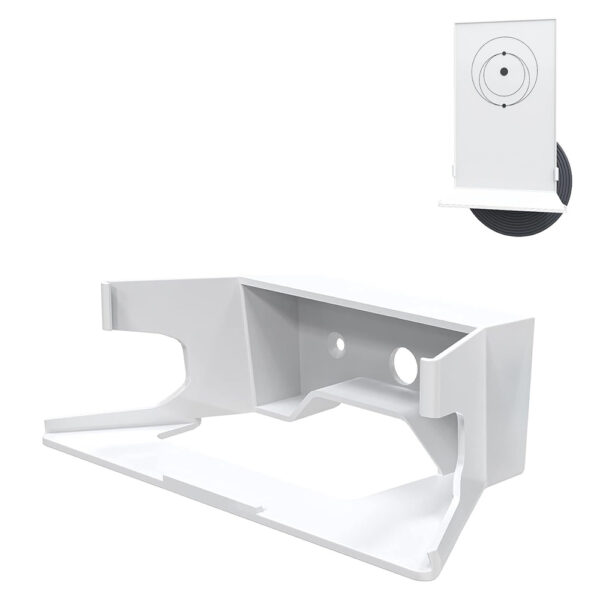
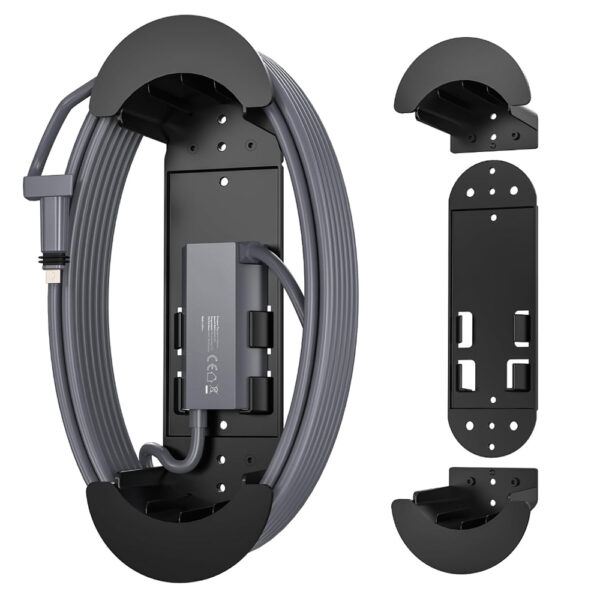
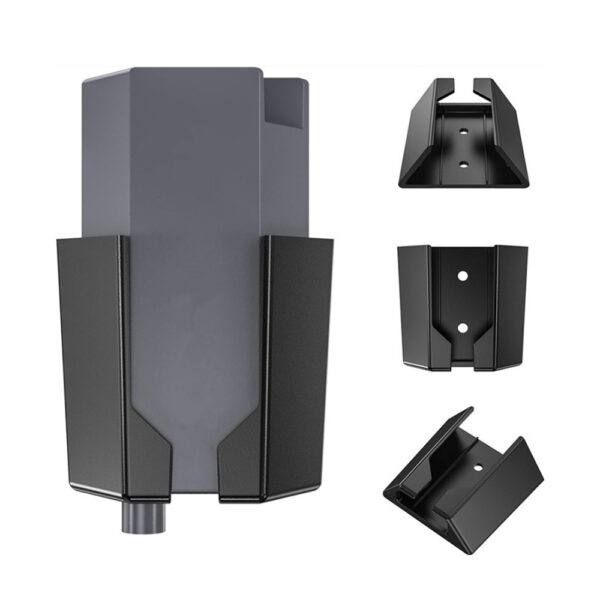
Pemasangan Dinding Penghala Starlink Gen 2
Pastikan persediaan anda bersih dan menjimatkan ruang dengan pendakap menegak yang memegang penghala anda dengan kukuh pada dinding. Pemasangan dinding penghala Starlink Gen 2 meningkatkan aliran udara, mengurangkan kekusutan dan sesuai dengan model Gen 2. Mudah dipasang dengan skru yang disertakan.
Pemasangan Starlink Gen 2 – Soalan Lazim
S1: Apakah kit pemasangan yang disertakan dengan Starlink Gen 2?
S2: Adakah Starlink Gen 2 Kit ini termasuk pemasangan tiang?
S3: Apakah pemasangan standard untuk Starlink Gen 2?
S4: Cara memasang Starlink Gen 2?
- Pilih lokasi yang cerah dengan pemandangan langit yang tidak terhalang.
- Letakkan tapak penyangga di atas tanah yang stabil dan rata (elakkan tanah lembut atau permukaan yang tidak rata).
- Masukkan pinggan ke dalam tapak sehingga ia terkunci dengan selamat.
- Sambungkan kabel dari piring ke penghala, pastikan kedua-dua hujungnya dipasang dengan kukuh.
- Hidupkan sistem dan piring akan melaraskan sudutnya secara automatik agar sejajar dengan satelit.
- Gunakan Aplikasi Starlink untuk mengesahkan persediaan yang betul dan memeriksa kekuatan isyarat.