The Starlink Performance Mount Gen 3 is a must-have accessory for anyone who needs reliable internet on the go. Whether you are traveling on the road, camping, or exploring off-road, this mount ensures that your Starlink dish stays securely attached to your vehicle, providing uninterrupted connectivity.
In this guide, we will walk you through the steps to install the Starlink Performance Mount Gen 3, so you can enjoy hassle-free internet wherever your journey takes you.

1. Why Choose the Starlink Performance Mount Gen 3?
The Starlink Performance Mountis designed specifically for the Starlink Flat High-Performance (Gen 3) dish. It offers several key benefits that make it an essential accessory for your Starlink system:
1.1 Perfect Compatibility with Starlink Gen 3
The Starlink Performance Mount is tailored for the Starlink Flat High-Performance (Gen 3) system, ensuring precise hole alignment for optimal signal reception. Unlike other mounts that may require extra tools or adjustments, this mount is a perfect fit with no drilling required.
1.2 Durable Construction for Long-lasting Use
Crafted from high-quality 304 stainless steel, this mount provides exceptional corrosion resistance and durability. It’s designed to withstand harsh outdoor conditions, making it suitable for long-term use on vehicles, RVs, and boats. Whether you're on a dusty trail or a rainy day drive, this mount will continue to perform reliably.

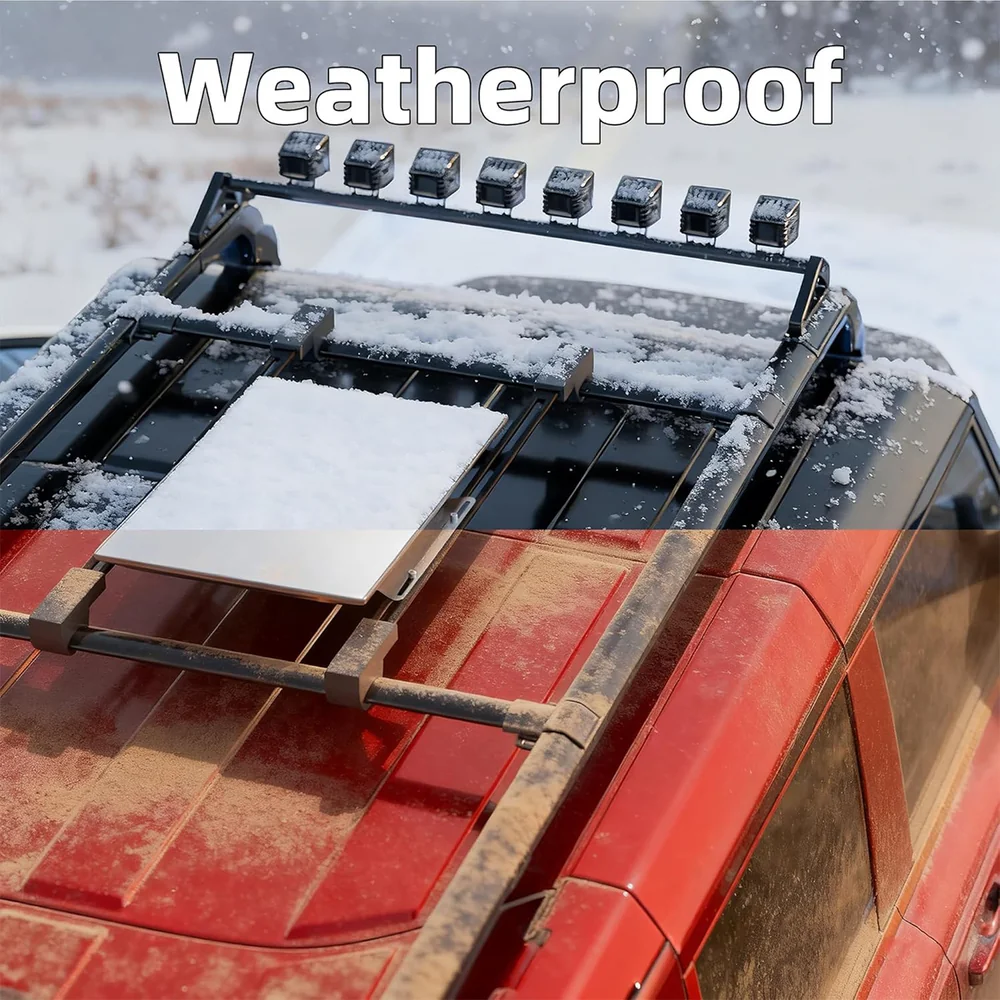
1.3 Weatherproof and Shock-Resistant Design
The Starlink Performance Mount Gen 3 handle extreme weather and rough terrains. It’s weatherproof, meaning it can withstand rain, snow, and harsh sunlight without compromising its performance. Additionally, its shock-resistant design ensures that your Starlink dish remains steady, even during bumpy rides.
1.4 Easy Installation with No Drilling
Installation is a breeze with this mount. The Starlink Performance Mount is designed for tool-free assembly, meaning you can easily set it up without the need for professional help or complicated tools. The included silicone pad ensures that your dish stays secure, while the mounting process is quick and straightforward.
2. Step-by-Step Installation of Starlink Performance Mount Gen 3
Now that you understand why the Starlink Performance Mountis a great choice, let’s dive into the installation process. Follow these simple steps, and you’ll have your Starlink dish securely mounted in no time.
2.1 Tools You’ll Need for Installation
Before you begin, make sure you have all the necessary tools:
- M6 bolts and nuts
- Double open-end wrench
- L-shaped M6 wrench
- Hex socket screws

These tools will help you with the installation process, ensuring a secure and stable setup. All of these tools are in our package, making the installation process very convenient.
2.2 Attaching the Silicone Pad to the Mounting Bracket
The first step is to attach the silicone pad to the inside of the mounting bracket. This pad plays a crucial role in preventing friction and protecting your Starlink dish from scratches. It also adds an extra layer of stability to keep the dish aligned properly.
- Simply peel off the backing of the silicone pad and stick it onto the designated area on the bracket. Ensure that it is firmly in place before moving to the next step.
2.3 Installing the Mount onto the Starlink Dish
Next, it’s time to install the mount onto the Starlink Performance (Gen 3) satellite dish.
- Use the provided M6 bolts to attach the mount to the dish. Tighten the bolts securely to ensure the mount stays in place during travel.
2.4 Mounting the Rack onto Your Vehicle’s Roof Rack
Once you securely attach the mount to the dish, proceed to mount the entire system onto your vehicle’s roof rack. Pay careful attention to ensure everything aligns properly.
- Position the mount on the roof rack and secure it with the M6 bolts. Tighten each bolt firmly to prevent any movement while driving. Double-check the alignment to ensure that the Starlink dish is positioned correctly.
3. Features and Benefits of the Starlink Performance Mount Gen 3
The Starlink Performance Mount offers features that make your Starlink experience as smooth as possible. Let’s take a closer look at what makes this mount stand out.

3.1 Premium 304 Stainless Steel Construction
The 304 stainless steel material resists rust and corrosion, making the mount suitable for both permanent and mobile setups. Whether you use it on your vehicle, RV, or boat, the mount withstands the elements.
3.2 Weatherproof and Shock-Resistant
This mount is made to endure the toughest weather conditions. Whether you’re facing heavy rain, snow, or intense sunlight, the weatherproof design ensures that the mount will perform without fail. Additionally, the shock-resistant design provides stability during rough rides, so your Starlink dish remains secure even on bumpy roads.
3.3 Silicone Pad for Extra Protection
The silicone pad included with the mount is a key feature that prevents friction and protects your Starlink dish from scratches. It also adds an extra layer of stability to ensure the dish stays securely in place, even when driving on uneven surfaces.
3.4 Easy and Quick Installation
One of the best features of the Starlink Performance Mount Gen 3 is its ease of installation. You won’t need any special tools or technical expertise to get it set up. The tool-free assembly design means you can mount the dish on your vehicle’s roof in just a few simple steps.
4. FAQs

Here are some common questions users have about the Starlink Performance Mount Gen 3:
4.1 Do I need to drill holes to install the mount?
No, the Starlink Performance Mount Gen 3 is designed for tool-free installation, so no drilling is required. You can easily mount it on your vehicle’s roof rack.
4.2 Is the mount compatible with Starlink Mini?
The Starlink Performance Mount Gen 3 is specifically designed for the Starlink Flat High-Performance (Gen 3). It is not compatible with the Starlink Mini or older models.
4.3 Can I install the mount on any vehicle?
The mount is designed to fit most vehicles with a roof rack. However, it is essential to ensure that your vehicle has a compatible roof rack for installation.
4.4 How do I ensure the mount stays secure during travel?
Make sure that all bolts and screws are tightly secured during installation. The silicone pad also helps prevent any shifting or movement, ensuring your Starlink dish stays in place.
4.5 Is this mount suitable for off-road use?
Yes, the Starlink Performance Mount Gen 3 is designed to withstand rough terrain and vibrations, making it perfect for off-road use.
5. Conclusion
The Starlink Performance Mount Gen 3 offers a weatherproof, shock-resistant, and easy-to-install solution for reliable internet on the go. Perfect for travelers, RV enthusiasts, and off-road adventurers, it ensures stable connectivity wherever you are. The mount is designed for Starlink Flat High-Performance (Gen 3), as shown in the compatibility image below.

Whether on rough roads or in the wild, this mount keeps your Starlink dish secure and stable, as demonstrated in the usage scenario image.For more information about the Starlink Performance Mount Gen 3, visit our product page on Parts4Star.


댓글 남기기
이 사이트는 hCaptcha에 의해 보호되며, hCaptcha의 개인 정보 보호 정책 과 서비스 약관 이 적용됩니다.