


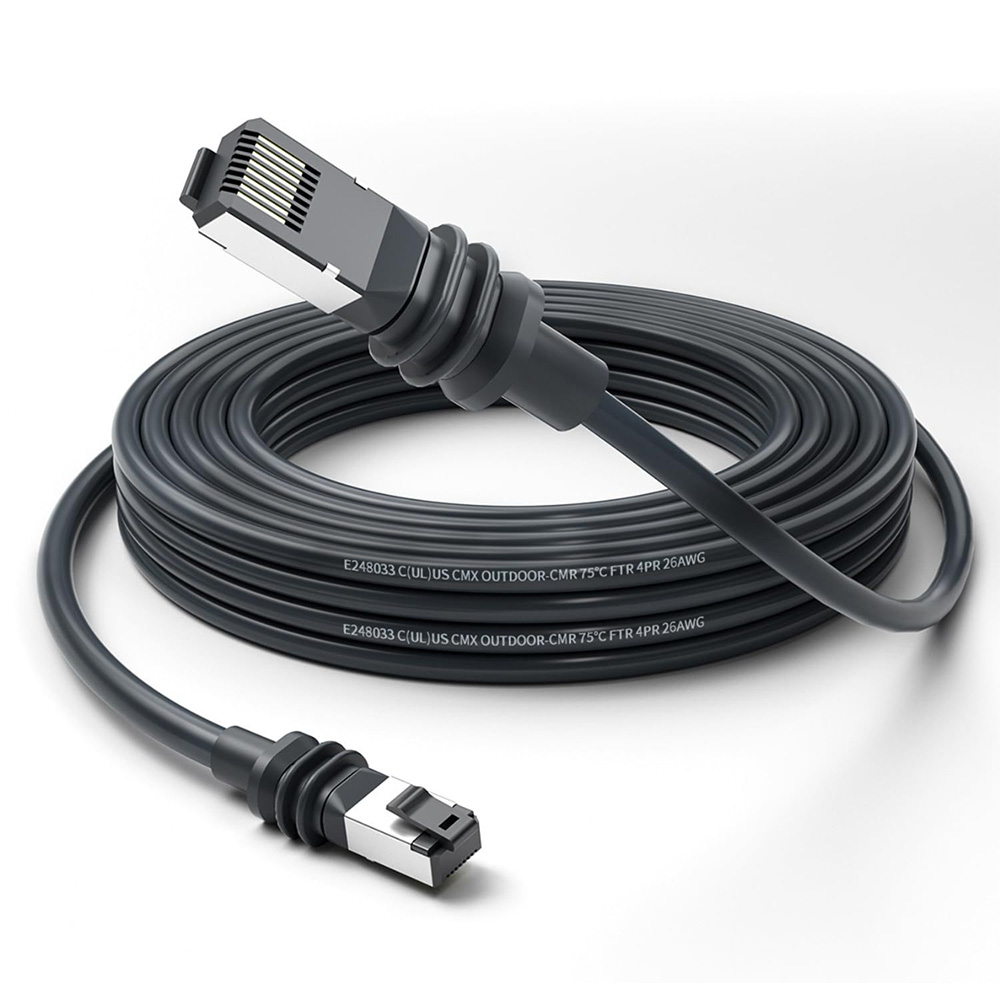
Installing a Starlink Gen 3 cable extension can significantly improve your satellite internet setup, especially for rural homes, RVs, or off-grid cabins where dish placement flexibility is essential. However, routing the extension cable properly is critical to avoid signal interference, damage, and long-term performance issues.
This guide walks you through best practices for routing, securing, and protecting your Starlink Gen 3 cable extension for both indoor and outdoor environments.

Why Proper Cable Routing Matters
The Starlink Gen 3 system relies on a high-frequency, low-latency connection between the dish and router. An improperly routed cable can:
- Create unwanted signal loss due to sharp bends
- Expose your setup to weather damage
- Increase the risk of disconnection or physical wear and tear
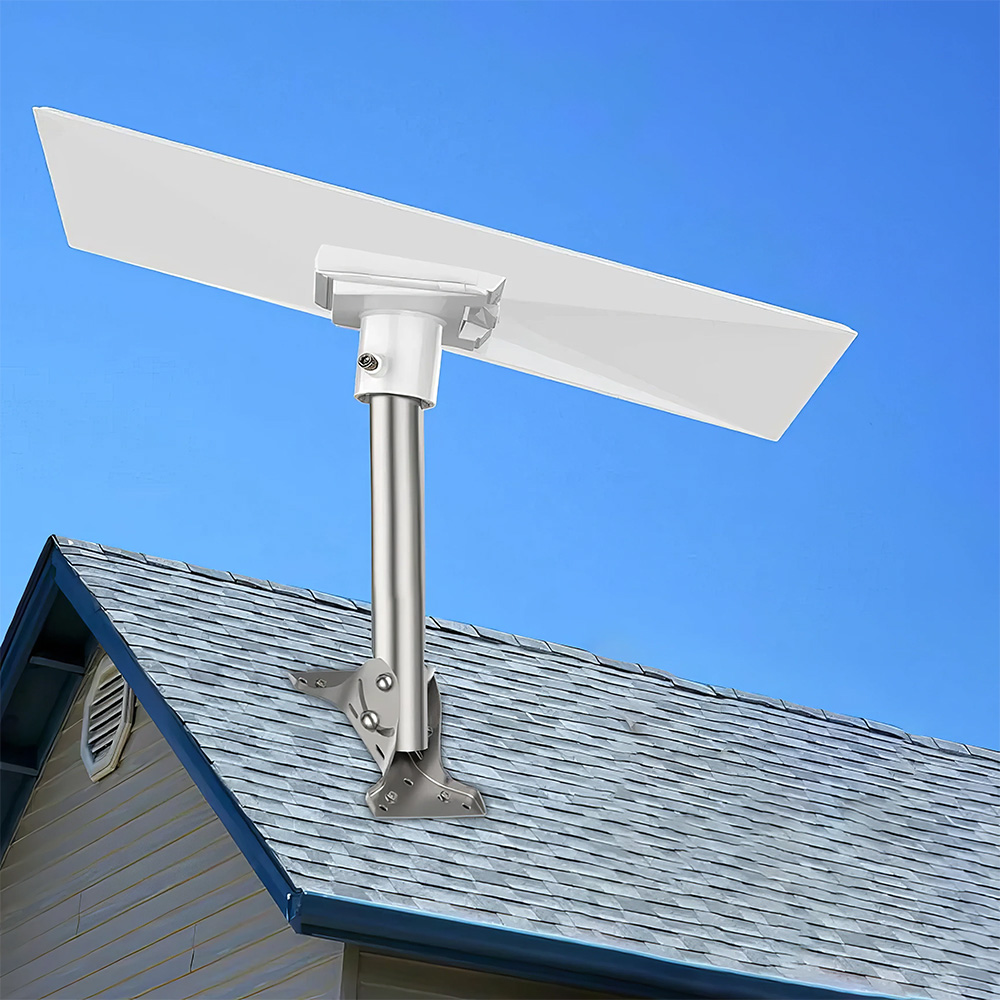
Whether you're extending your dish to a rooftop or running it along an RV exterior, planning your routing layout is a must.
1. Plan the Routing Path First
Start by mapping the shortest and most secure path between the dish and the router location. Consider:
- Elevation: Keep cables elevated when possible to avoid foot traffic or animal interference
- Entry points: Choose clean wall or window entry routes to minimize drilling
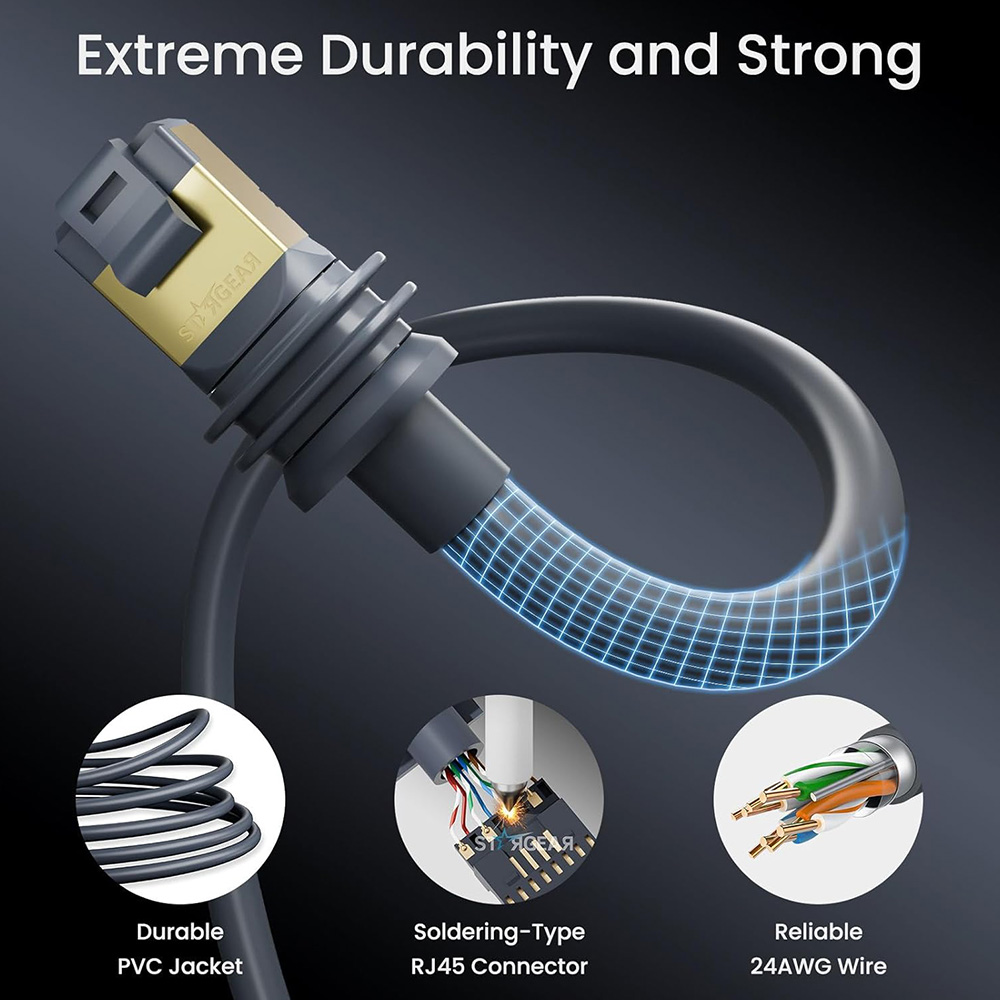
- Bend radius: Maintain a gentle curve—Starlink recommends a minimum bend radius of 3 inches (7.5 cm)
Use chalk, painter's tape, or markers to outline the cable path before mounting.
2. Use the Right Mounting Clips and Conduits
To safely fasten the extension cable along walls, ceilings, or exterior siding:
- Use UV-resistant cable clips for outdoor use
- Apply non-compressing saddle clamps to avoid pinching
- When underground, use PVC conduit or flexible raceways to protect against moisture and rodents
For rooftops or RVs, consider adhesive cable holders that won't damage surfaces.

3. Avoid Common Damage Points
Be mindful of locations where your cable might be vulnerable:
- Door and window gaps: Avoid routing through pinch points that can damage the cable insulation
- Sharp edges or corners: Use rubber grommets or padding
- Heat sources: Keep at least 6 inches away from HVAC ducts, chimneys, or exhaust vents
Also, do not coil excess cable tightly—this can create heat buildup and interfere with performance.
4. Use Weatherproofing for Outdoor Runs
If your cable extension runs outdoors, protect it from the elements:
- Wrap exposed sections with UV-stable cable wrap or heat-shrink tubing
- Use drip loops to prevent water from flowing into wall penetrations
- Seal entry points with silicone caulk to keep out pests and moisture
Bonus tip: Label the cable ends for easy troubleshooting later.

5. Test the Connection After Installation
Once routed, connect the extension cable and power up the system. Then:
- Open the Starlink app to check the signal strength
- Look for any error codes or interruptions
- Reroute if latency is unusually high
Testing ensures the physical layout isn't affecting performance.
6. Upgrade Protection for Long-Term Use
For heavy-duty or permanent installations, consider adding:
- Surge protectors to prevent lightning damage
- EMI shielding sleeves for areas near electrical panels
- A Starlink cable protector box at junction points for added durability
Final Thoughts
Routing your Starlink Gen 3 cable extension properly is a simple step that delivers long-term benefits—fewer signal issues, less maintenance, and safer overall installation. By following the practices outlined above, you'll keep your satellite connection strong and stable no matter where you install it.
Need reliable accessories for your Starlink setup? Make sure to choose high-quality clips, conduit, and cable organizers designed for outdoor use.
Zostaw komentarz
Ta strona jest chroniona przez hCaptcha i obowiązują na niej Polityka prywatności i Warunki korzystania z usługi serwisu hCaptcha.